
Follow these step-by-step instructions:
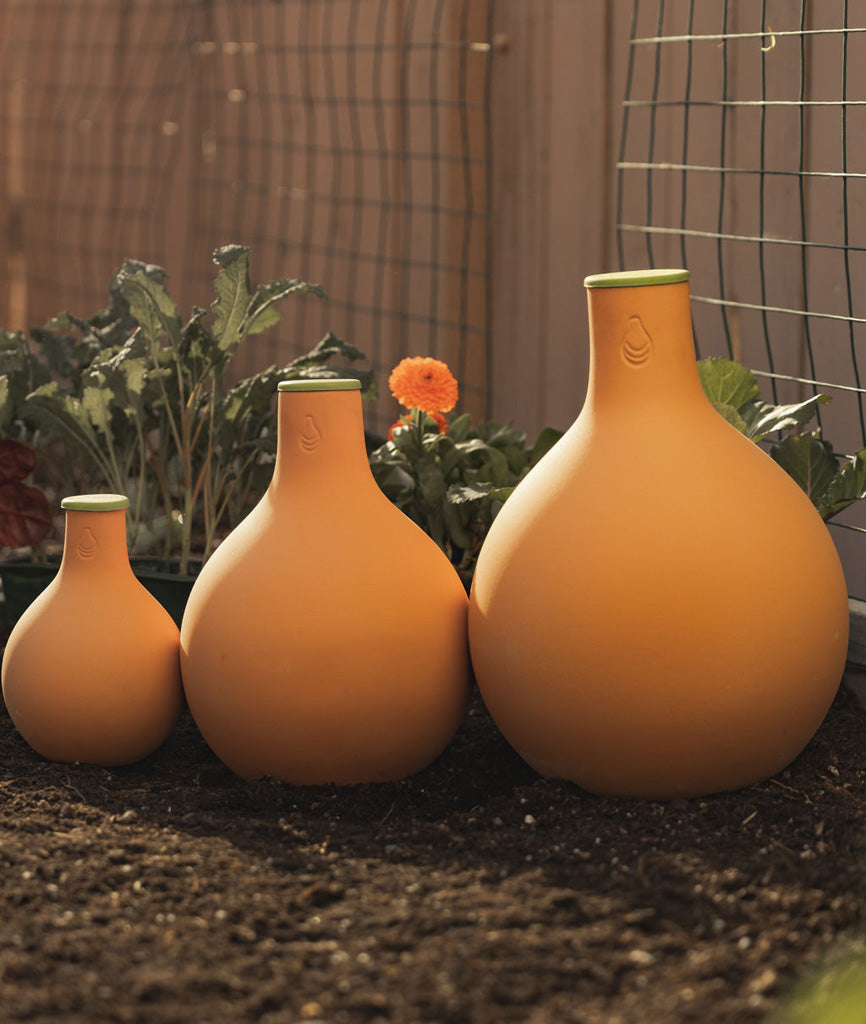
Select the appropriate size: Determine the size of the Oya™ Watering Pot that best suits your gardening needs. Oya watering pots come in various sizes, so choose one based on your garden or container size. Learn more about sizes here.
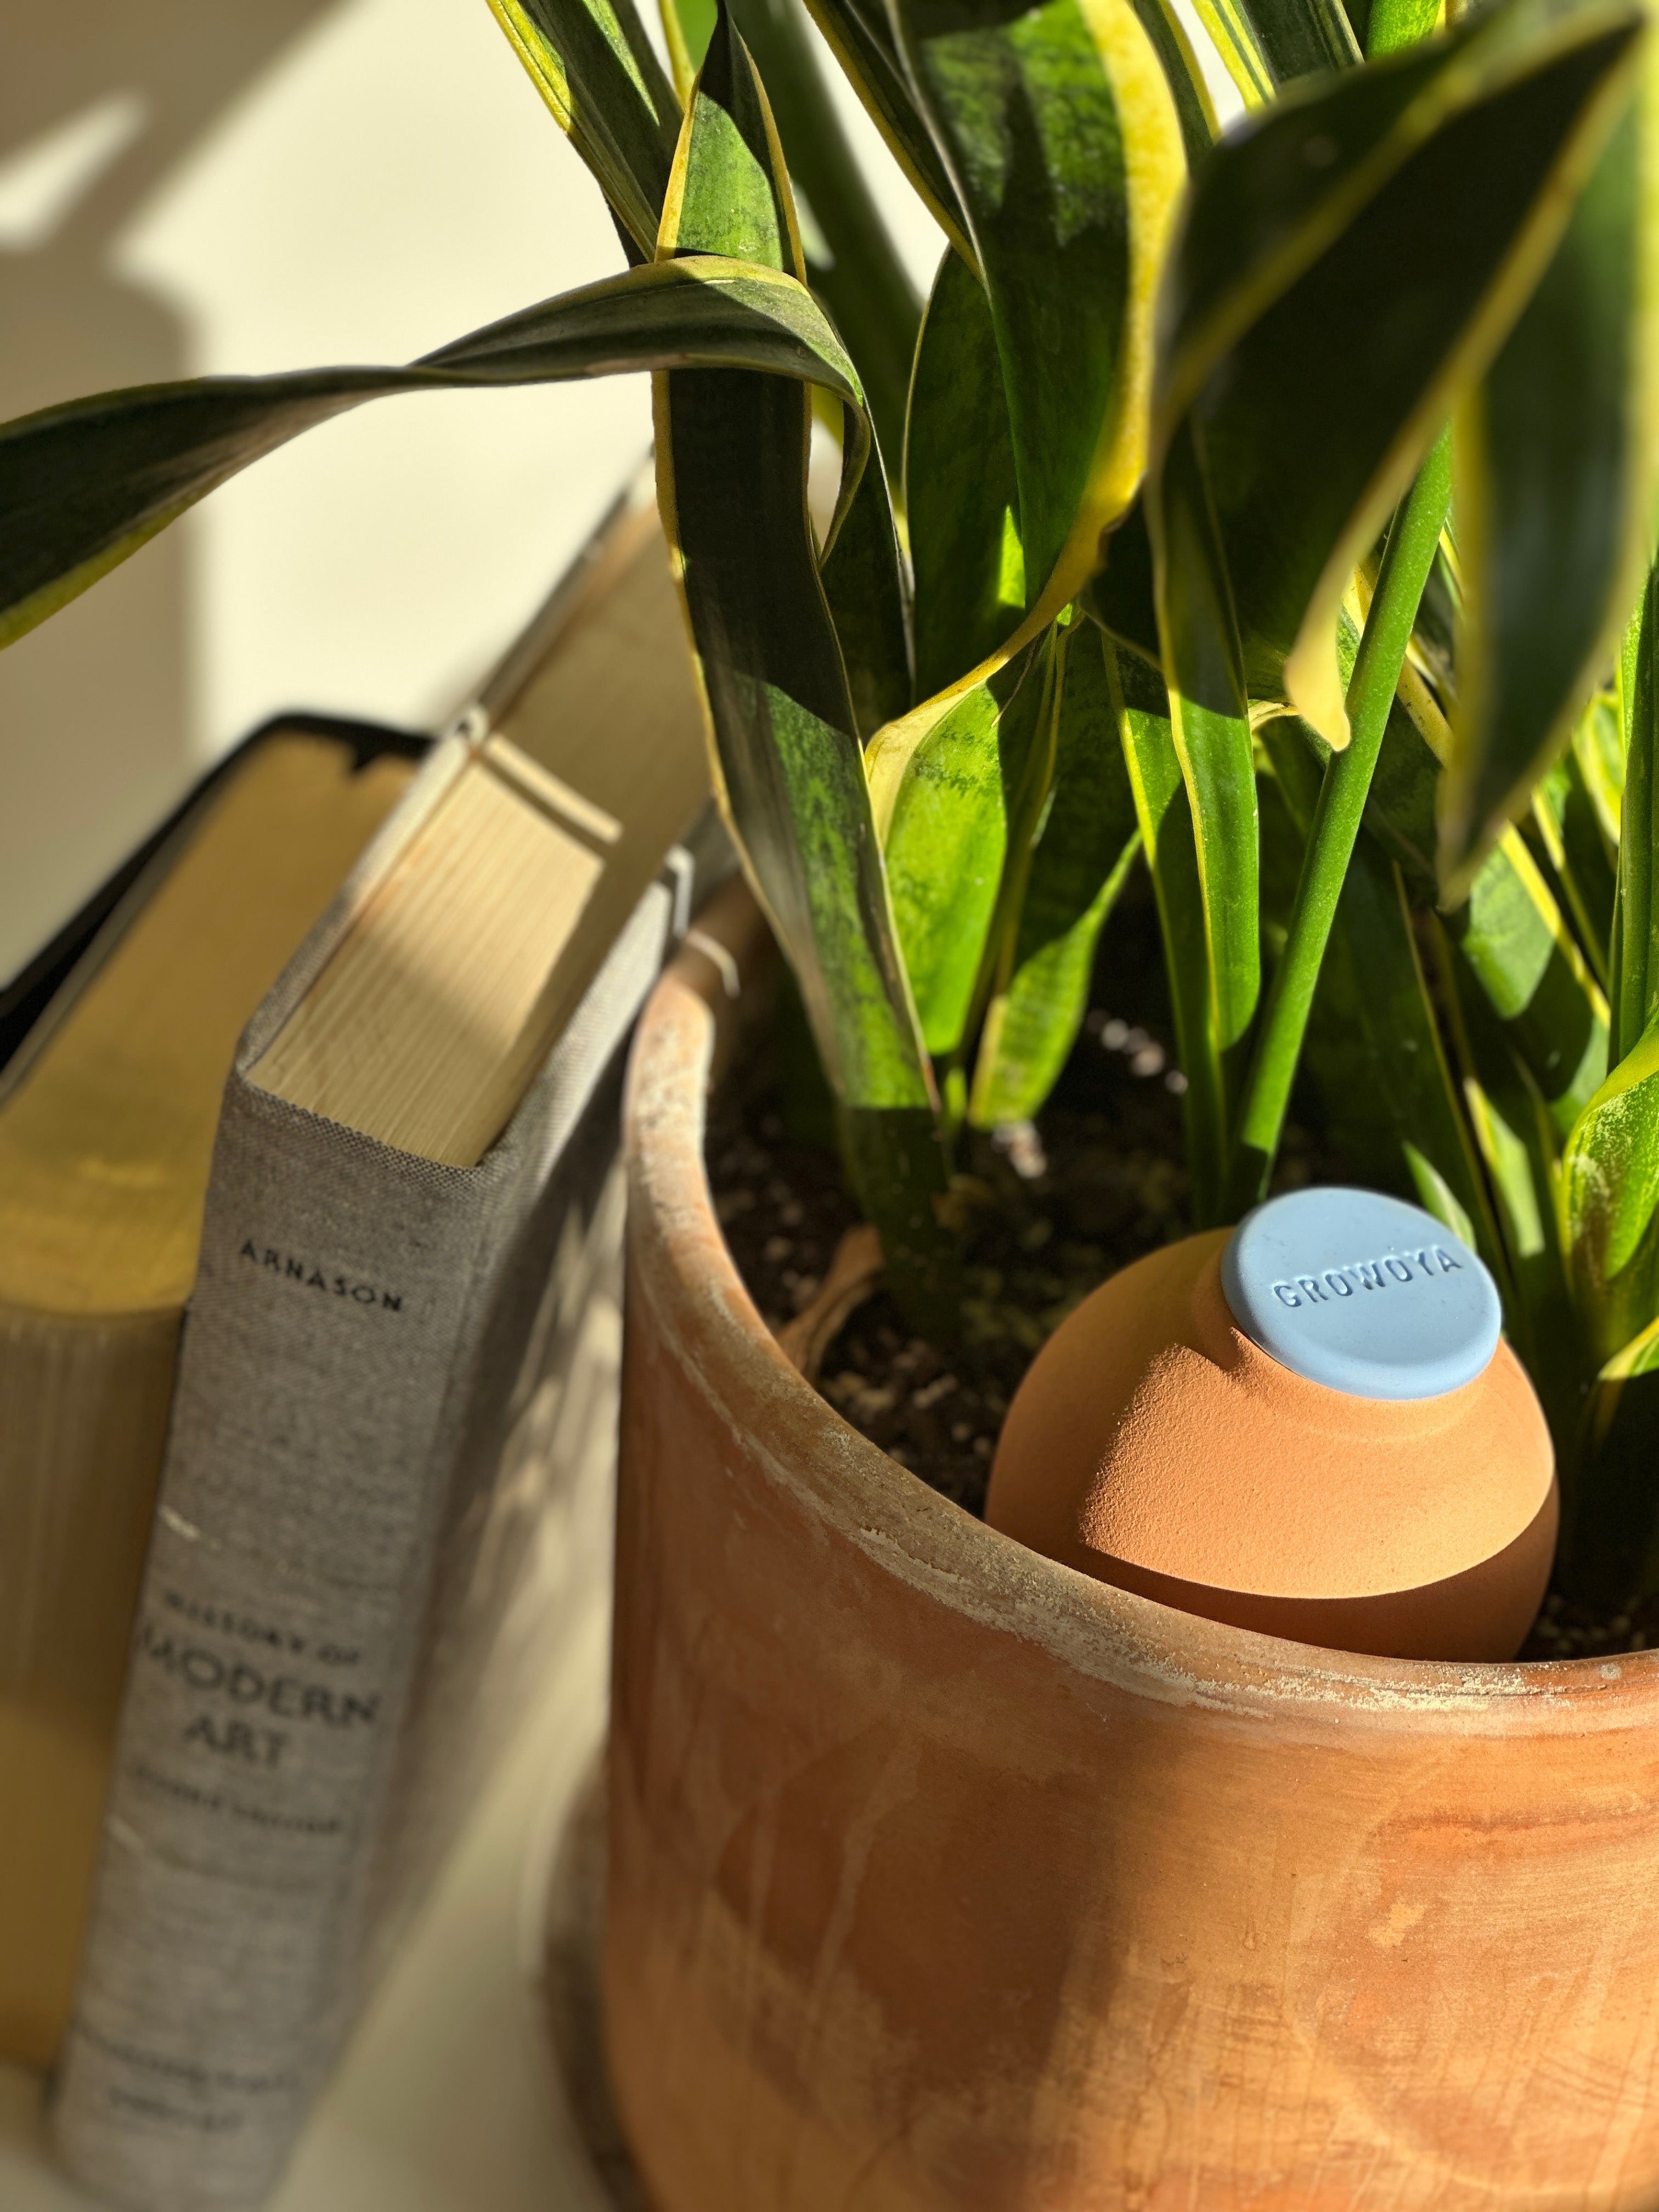
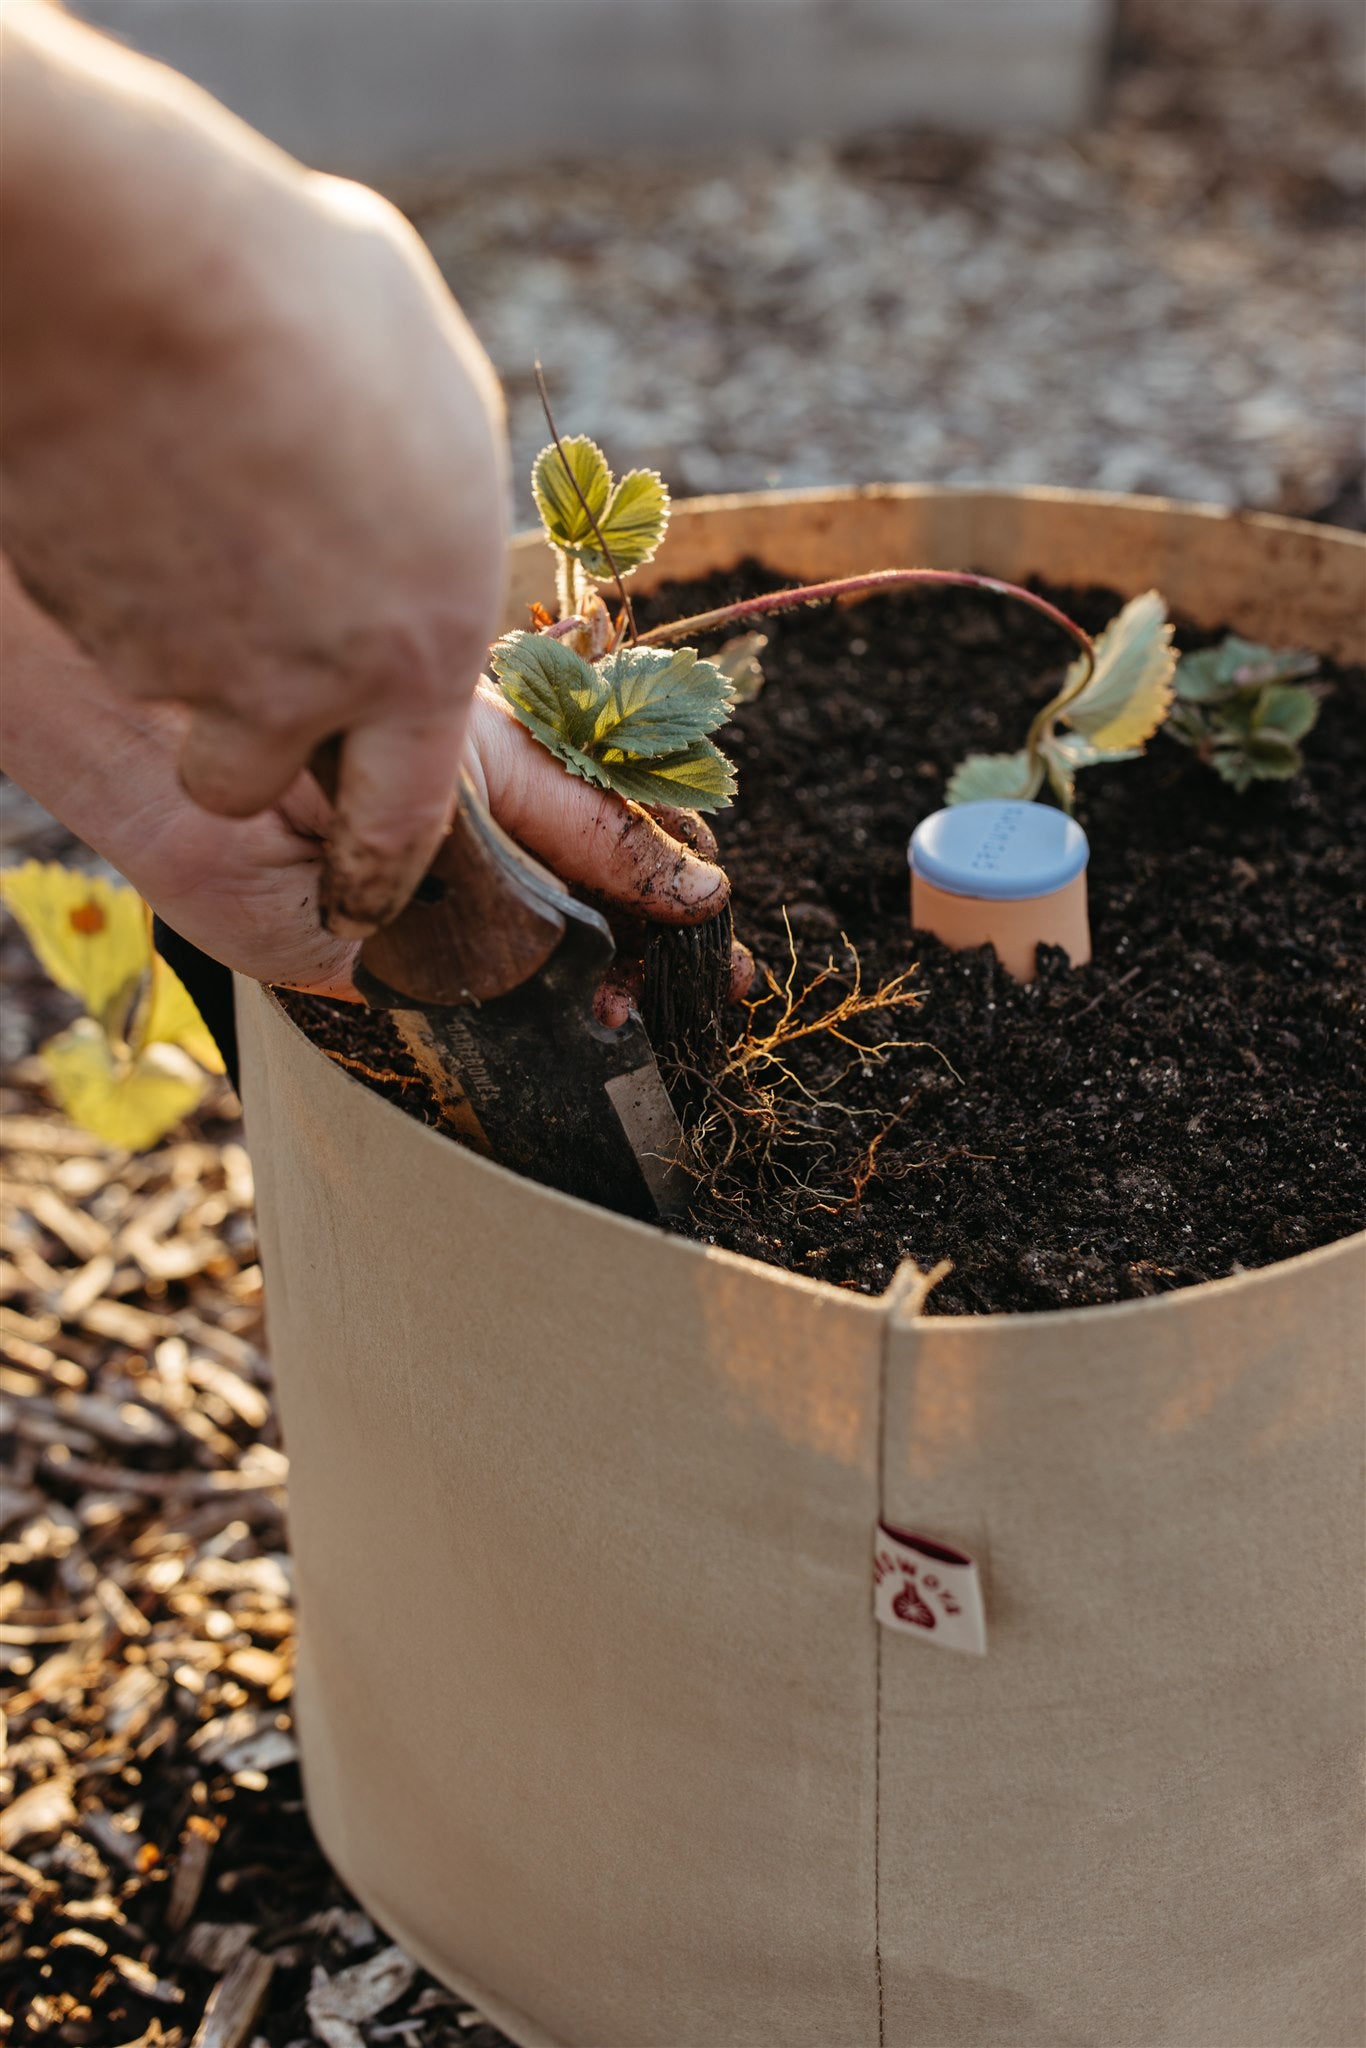
Prepare the planting area: Dig a hole in your garden or container where you want to place it. The hole should be deep enough to fully submerge the Oya watering pot, leaving the top exposed.

Plant around it: Position the Oya watering pot in the prepared hole with only the top part exposed. Arrange your plants in a circular pattern around the Oya, ensuring they don't block the opening. Place the thirstier plants closer to the Oya for optimal watering. Read more here on how to arrange your plants around an Oya.
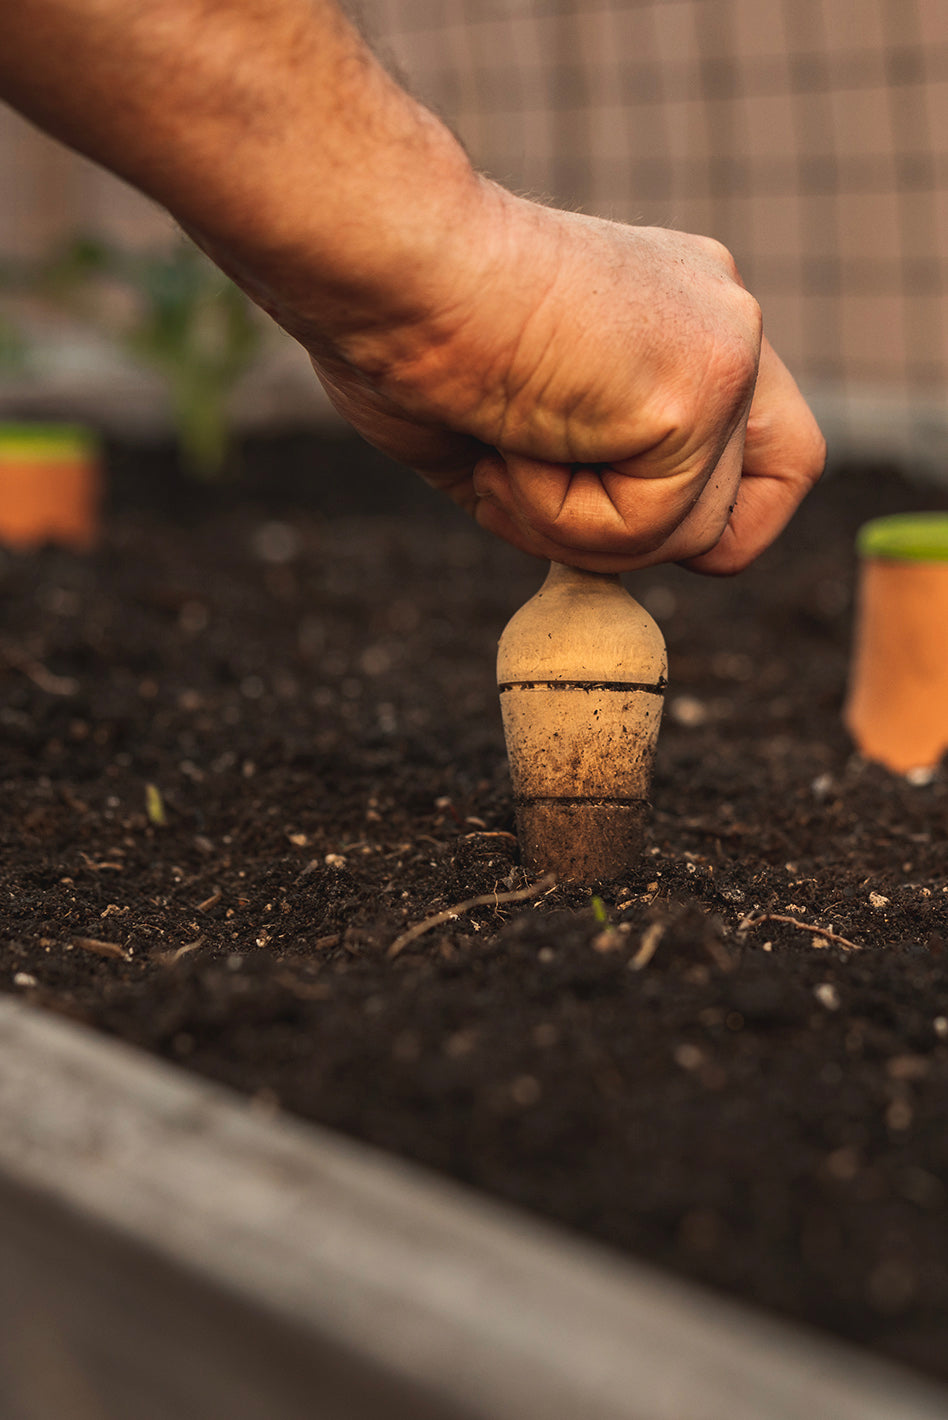
Fill it with water: Pour water into the opening until it's full. The water will slowly seep through the porous terracotta walls, providing a continuous moisture supply to the surrounding plants' root zones.

Monitor and refill: Keep an eye on the water level in the Oya pot, making it a habit to check regularly. Depending on the weather and your plants' thirst, you need to refill it every 2-7 days. Adjust the frequency to match your plants' moisture needs. For seeds or young transplants, provide surface water for the initial 1-2 weeks until their roots take hold.
Maintain proper spacing: Ensure appropriate spacing between the Oya watering pot and plants. This allows the plants to access water effectively and ensure even distribution throughout the root zone.

Seasonal adjustments: In colder climates where freezing is possible, you will need to remove it from the ground to prevent it from freezing and breaking. Store it in a dry place until the weather conditions improve.
Clean and store: At the end of the growing season or when no longer in use, clean the Oya watering pot by thoroughly rinsing it with water. Let it dry completely before storing it in a cool and dry location until the next planting season.
Following these simple steps, you'll become a pro at using the Oya watering pot for your garden or potted plants. Say goodbye to inconsistent watering and pesky weeds! Your plants will love you for it, giving you an abundant harvest and a garden free from unwanted guests.
Happy Gardening!


