
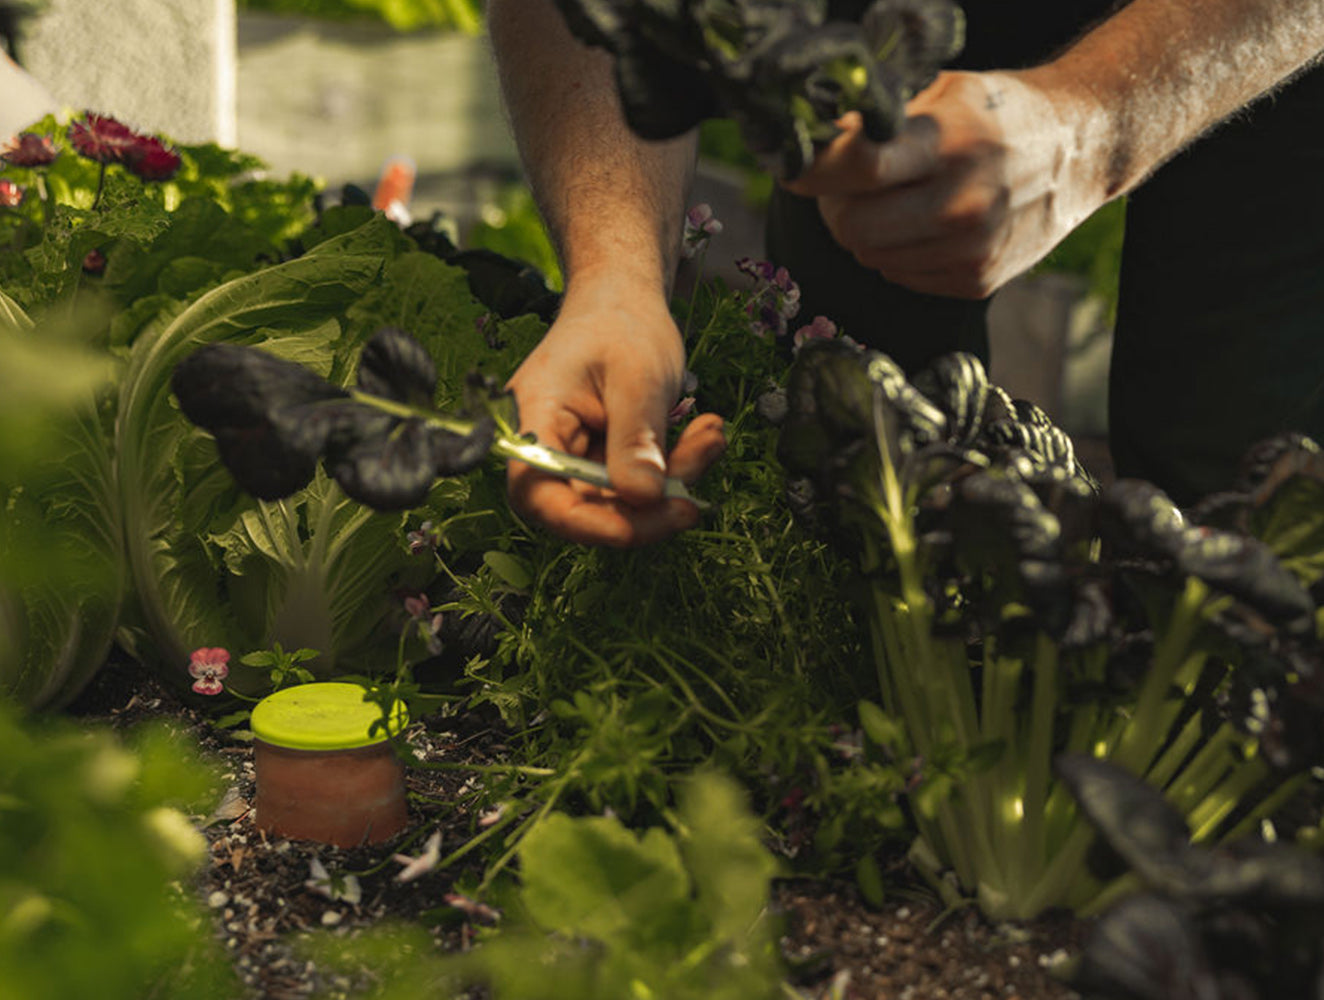
So, you’ve got your Oya™ Watering Pot all set up in your garden, ready to work its magic. Now, let’s talk about how to arrange your plants around it to make the most of its watering powers.
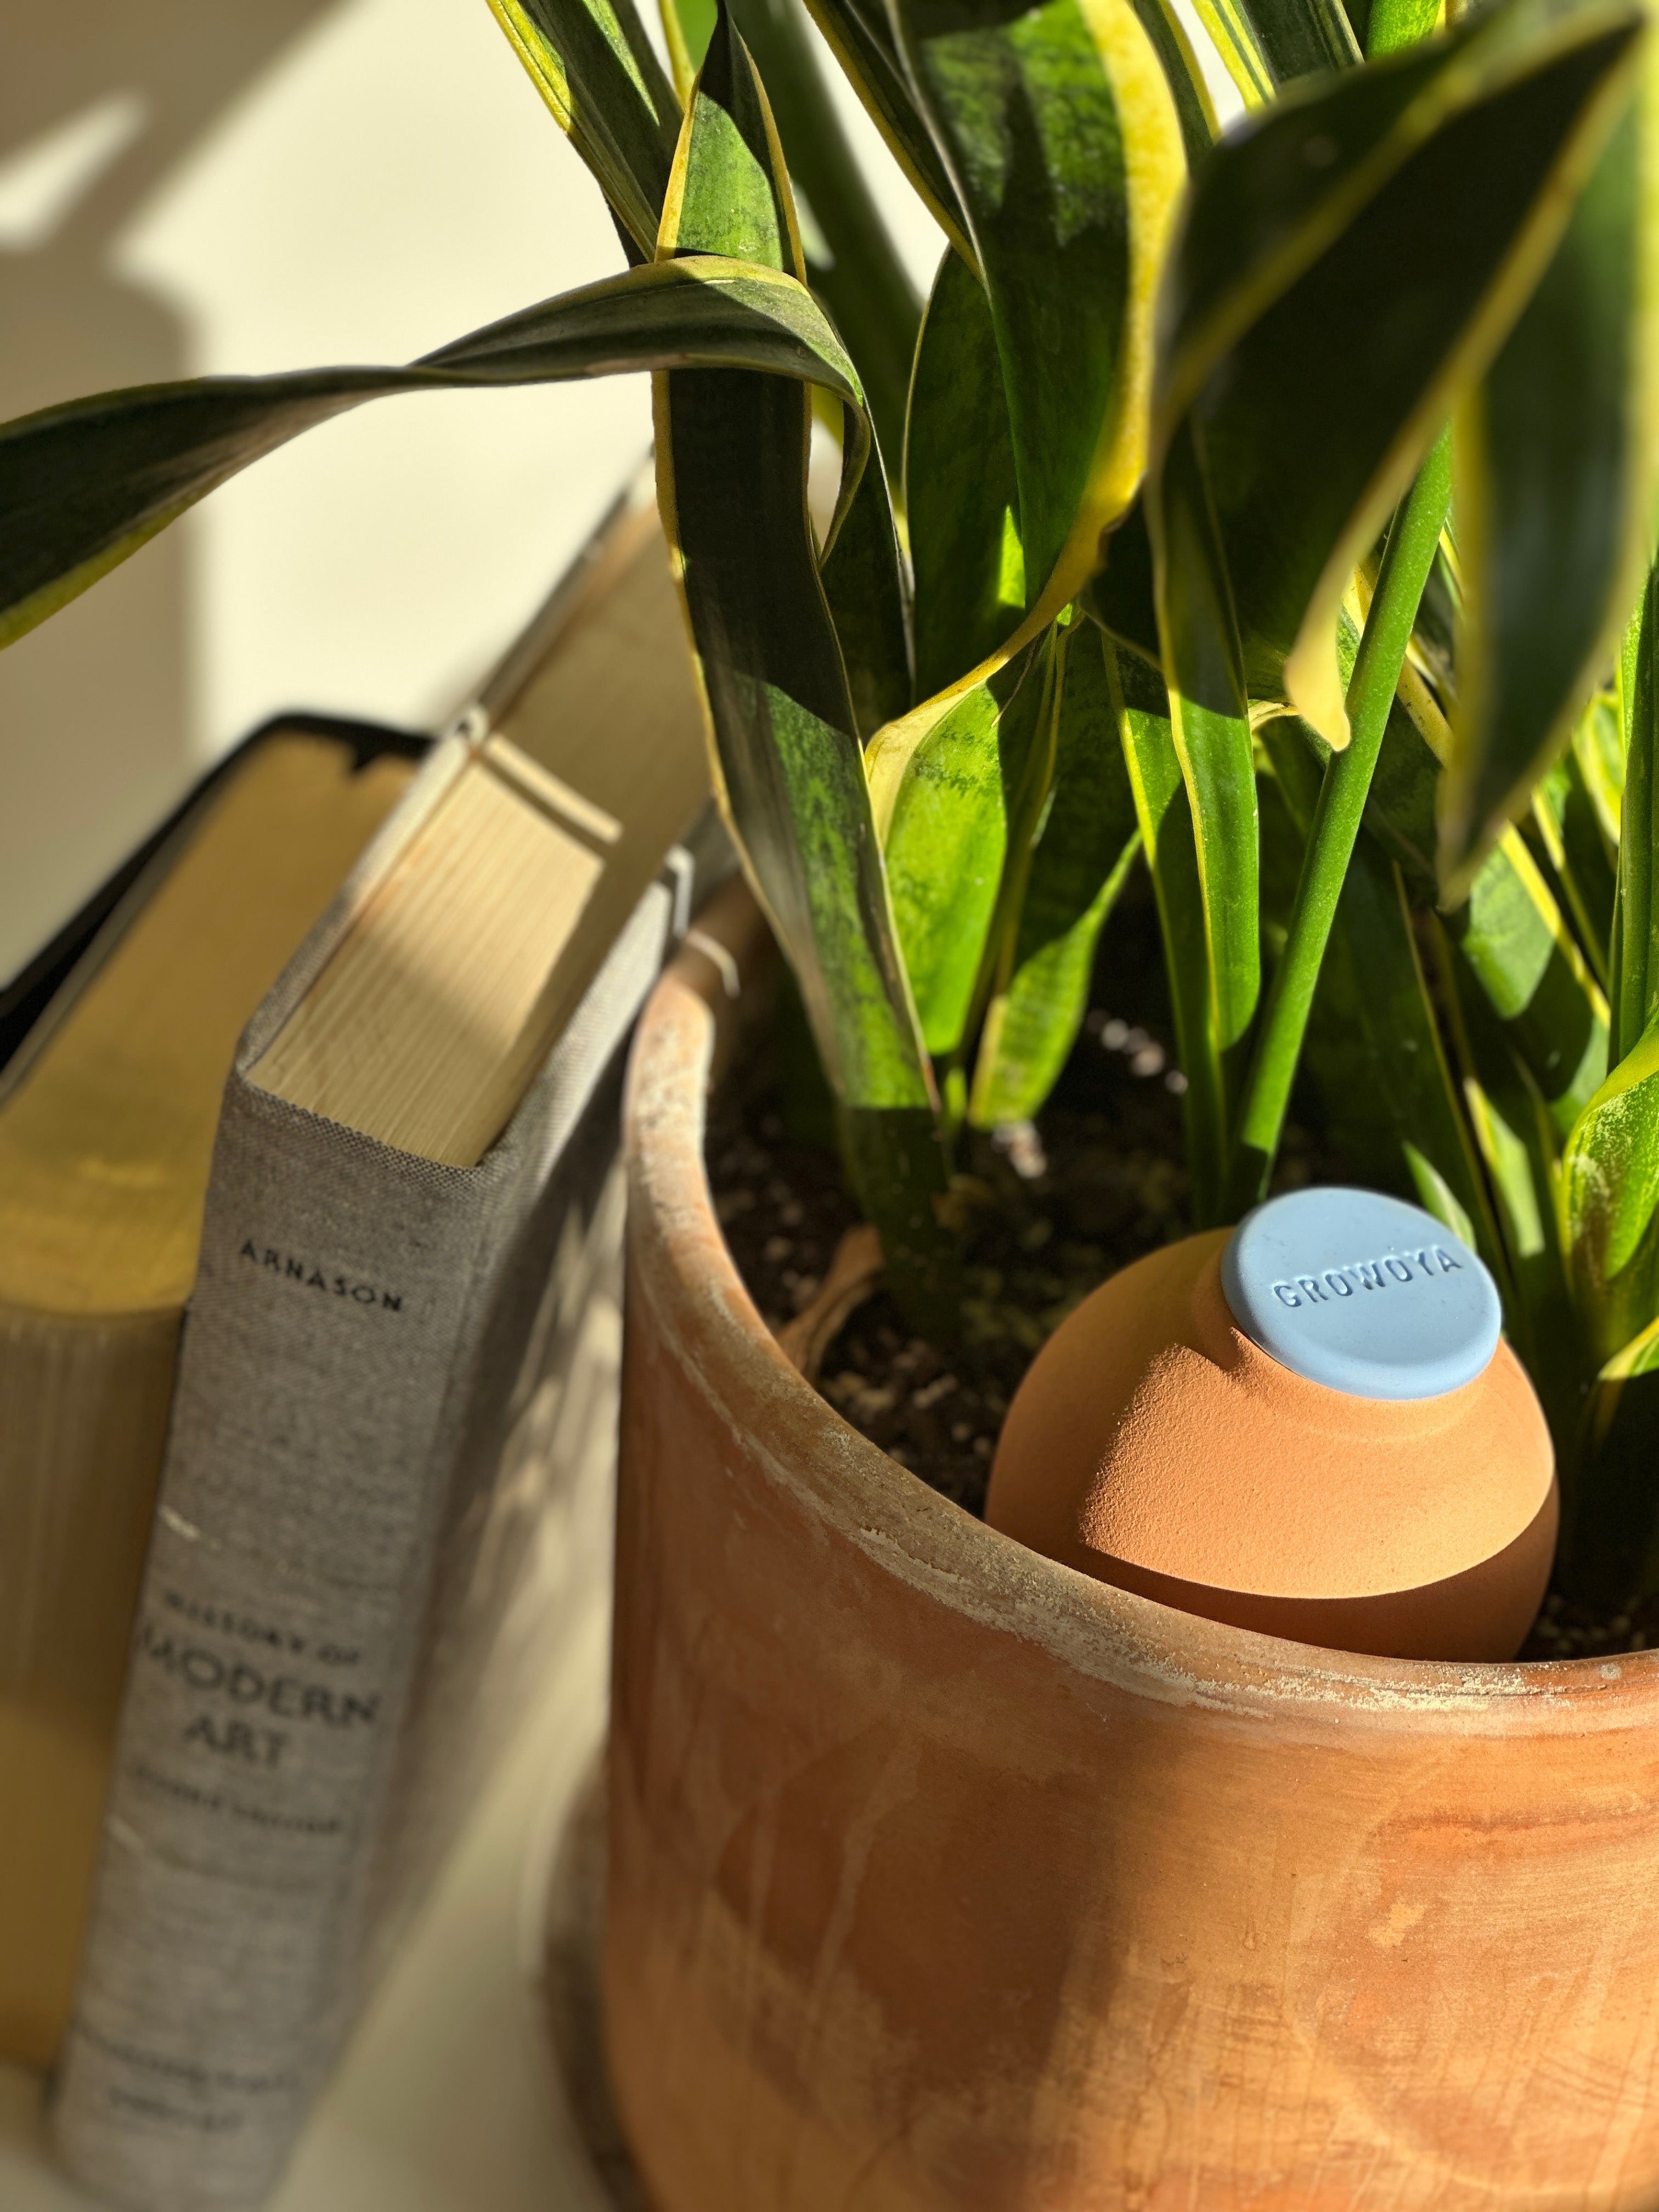
Imagine your Oya sitting smack dab in the middle of your garden, all smooth and round. Well, that’s your cue to think in circles, not straight lines, when planning your planting layout.
- Here’s the deal: put the thirsty plants closer to the Oya and the ones that don’t need as much water further away. It’s about giving each plant what it needs, where it needs it. Plants with deep roots can reach out to the Oya for a drink, while the shallow-rooted ones need to be nearer to get their fill.
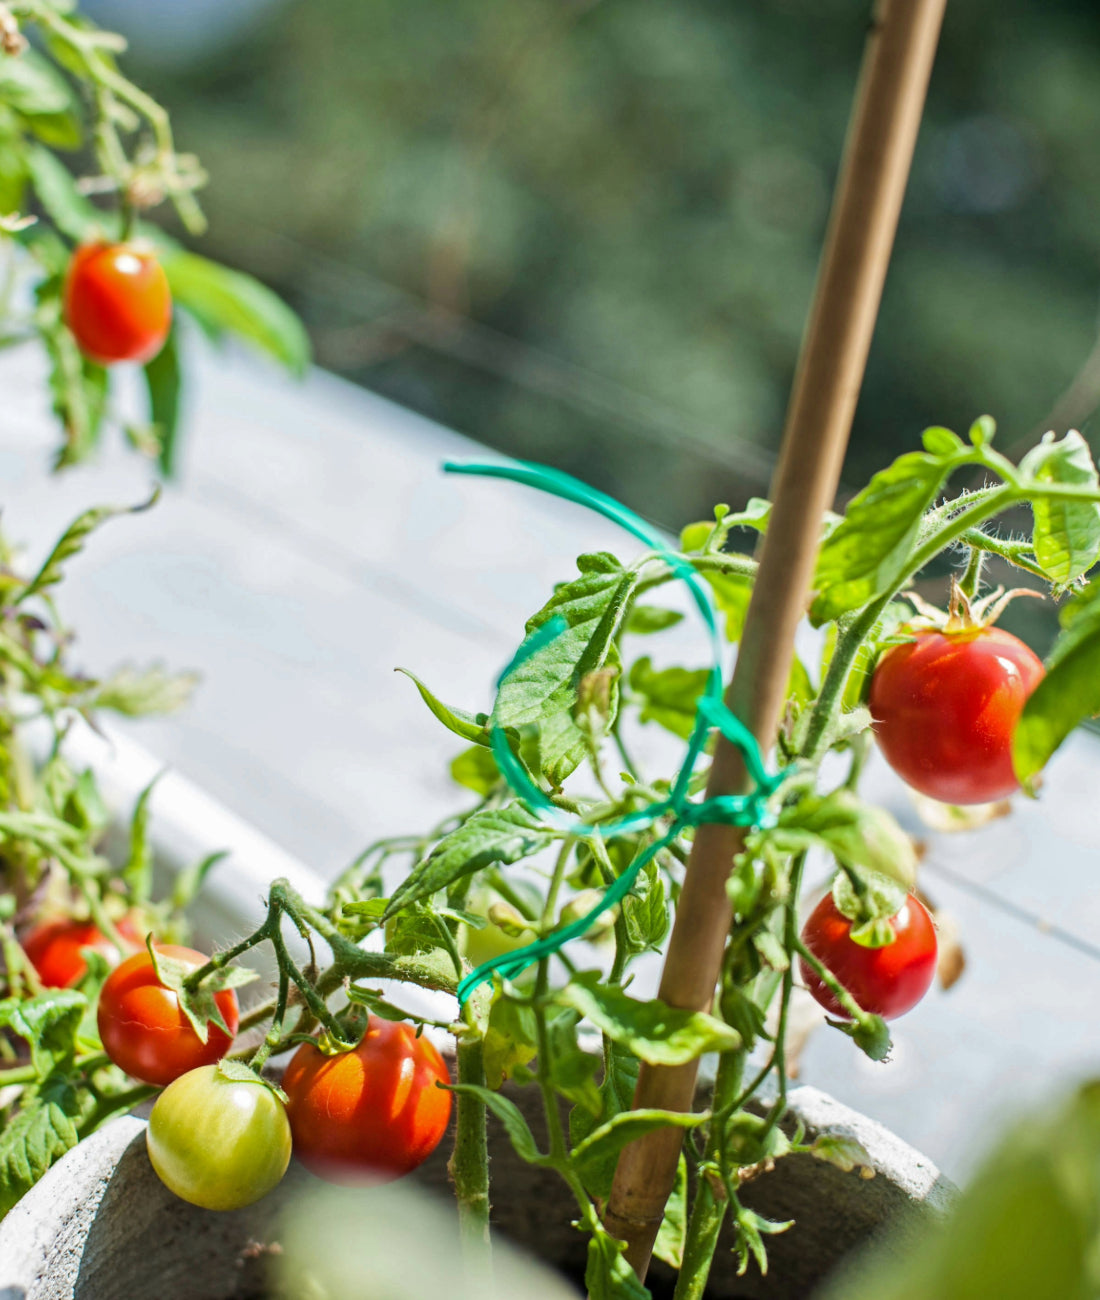
- But here’s where it gets cool: if you’re using raised beds or containers with Oyas, you can mix things up even more with intercropping and vertical gardening. So, feel free to get creative with your planting arrangements.
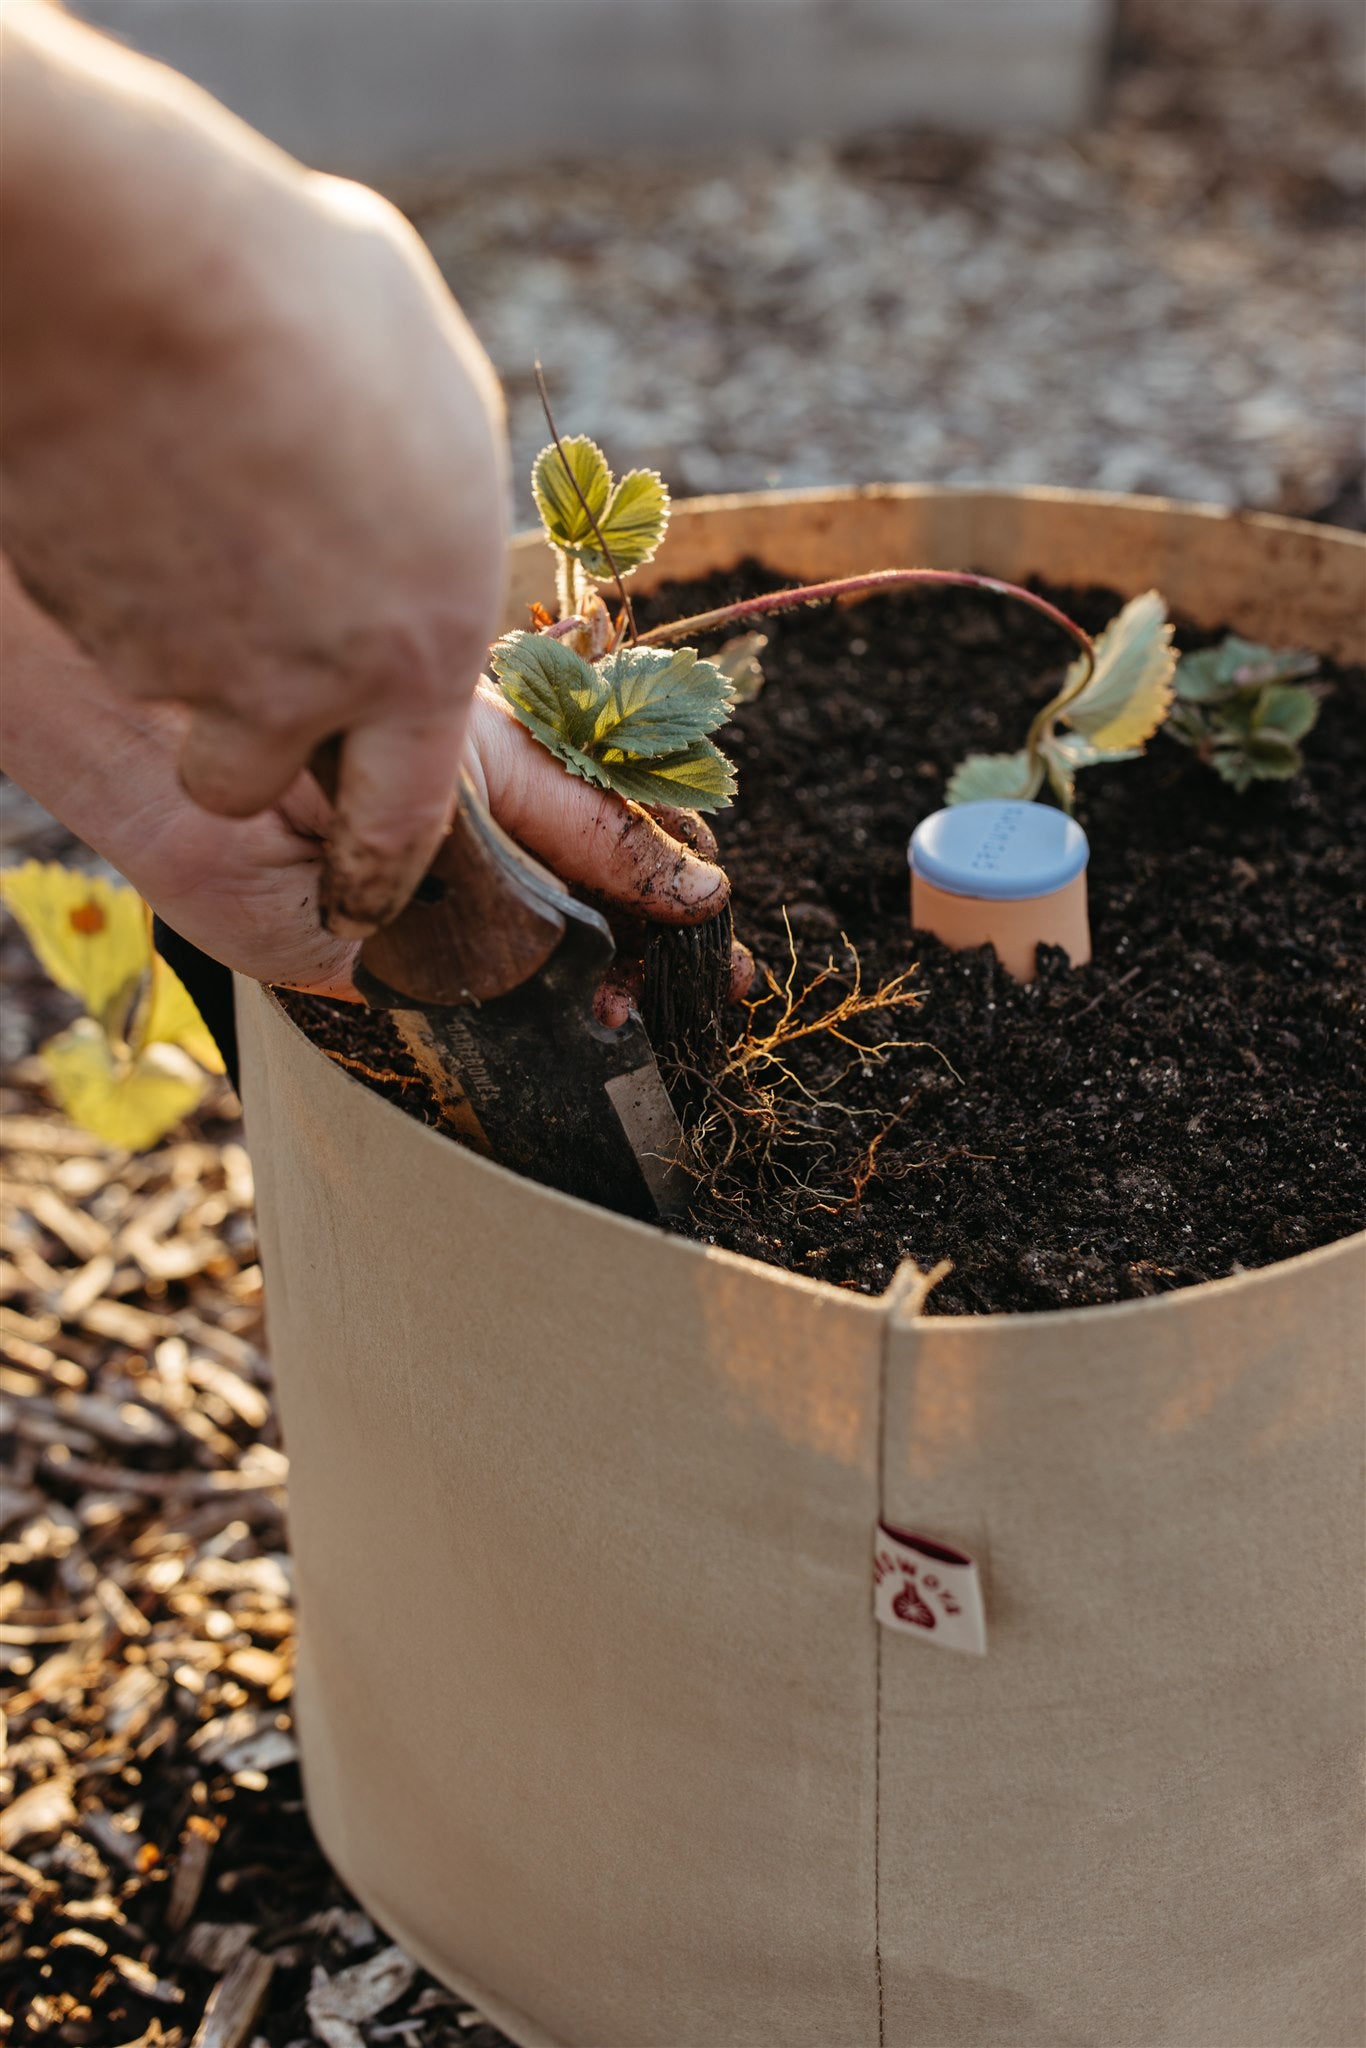
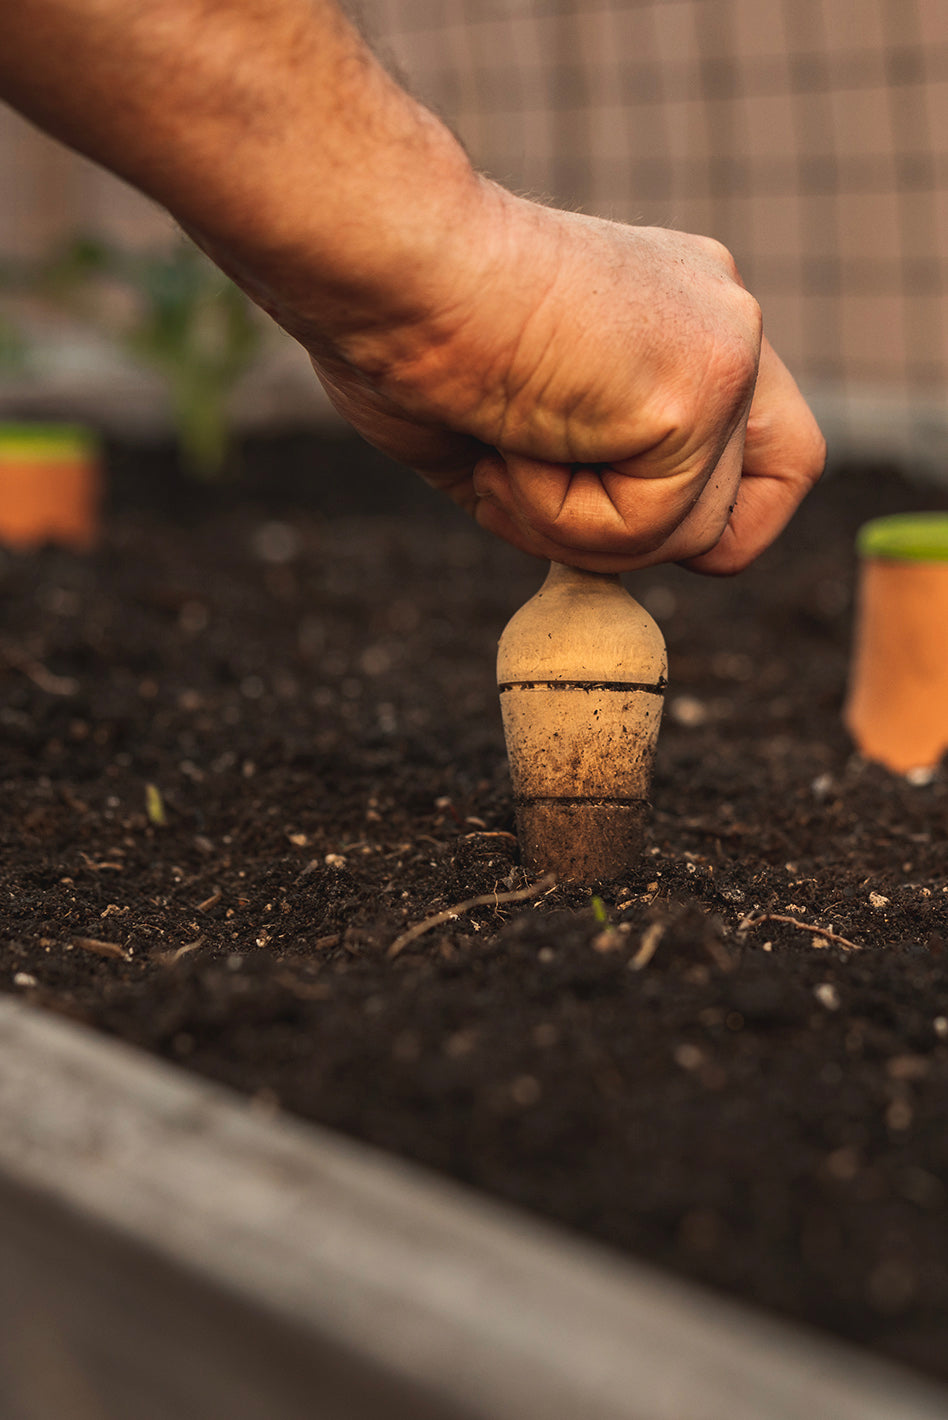
- Now, onto watering. After you’ve planted your green babies, fill your Oya and give your garden a good soak for a couple of weeks. This helps the roots settle in and start reaching for the Oya. Keep an eye on any newbies—they might need some extra water until their roots establish and they find their way to the Oya.
- Once those roots are settled, it’s smooth sailing. Just top up your Oyas every few days and let nature do its thing. But don’t forget to keep an eye on your plants for any signs of thirst—they might need a little extra water from time to time.
- Ready to plan your garden layout? Grab your favorite garden planning tool and start sketching. Just remember, circles are your friends here, not straight rows.


