Learn how to install Oya™ Watering Pots, also known as Ollas, in your garden or containers to efficiently hydrate your plants while conserving water. Follow these simple steps and revolutionize your gardening routine!
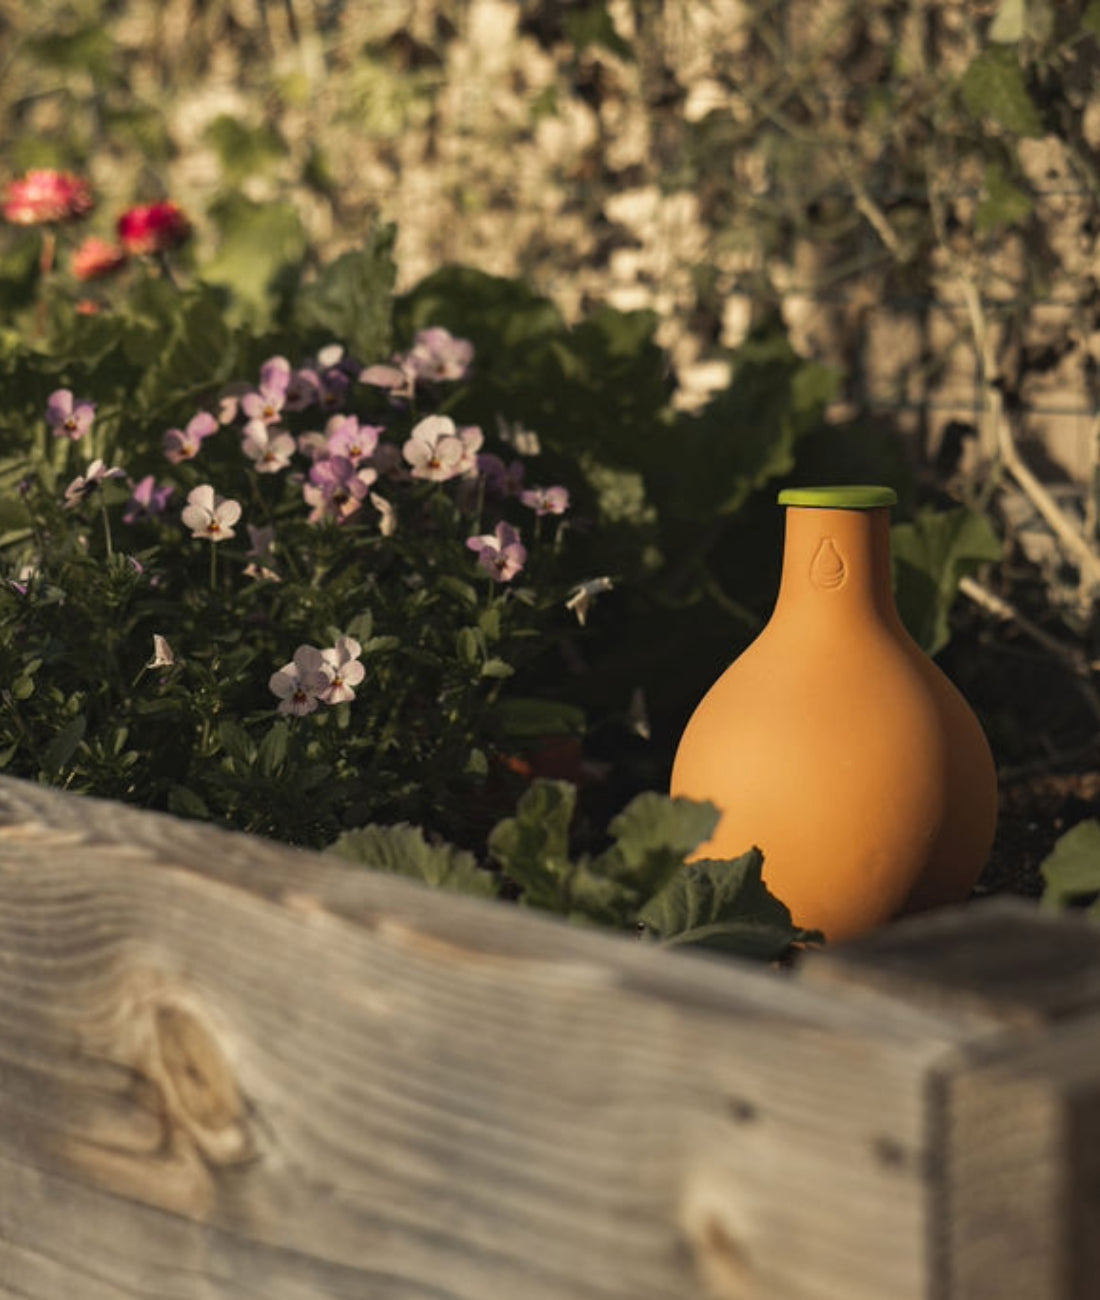
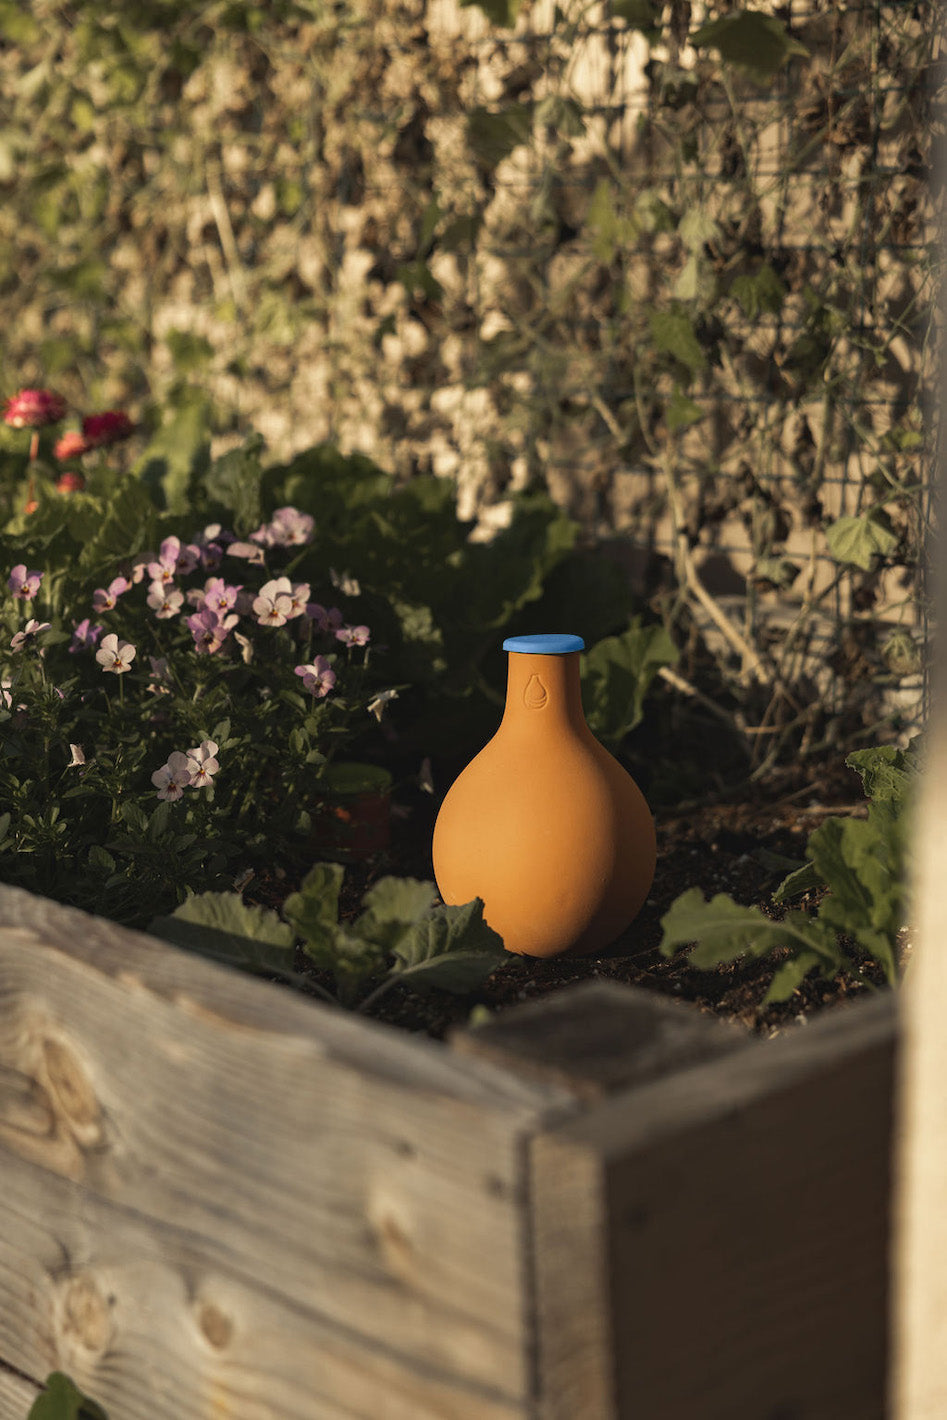
Before diving into the installation process, let's explore what Oya™ Watering Pots are. Derived from ancient irrigation methods, Oya™ Watering Pots, are a uniquely formulated porous clay vessels designed to be buried near plants. Filled with water, these pots slowly release moisture directly to the roots, ensuring effective hydration while minimizing water wastage.
Step 1: Selecting Your Ideal Location
Start by choosing the perfect spot in your garden or containers for your Oya™ Watering Pot. Consider your plants' watering requirements and ensure the pot can deliver water effectively to the root zones. Refer to our size guide if you're unsure about the appropriate size for your needs.
Step 2: Preparing the Soil
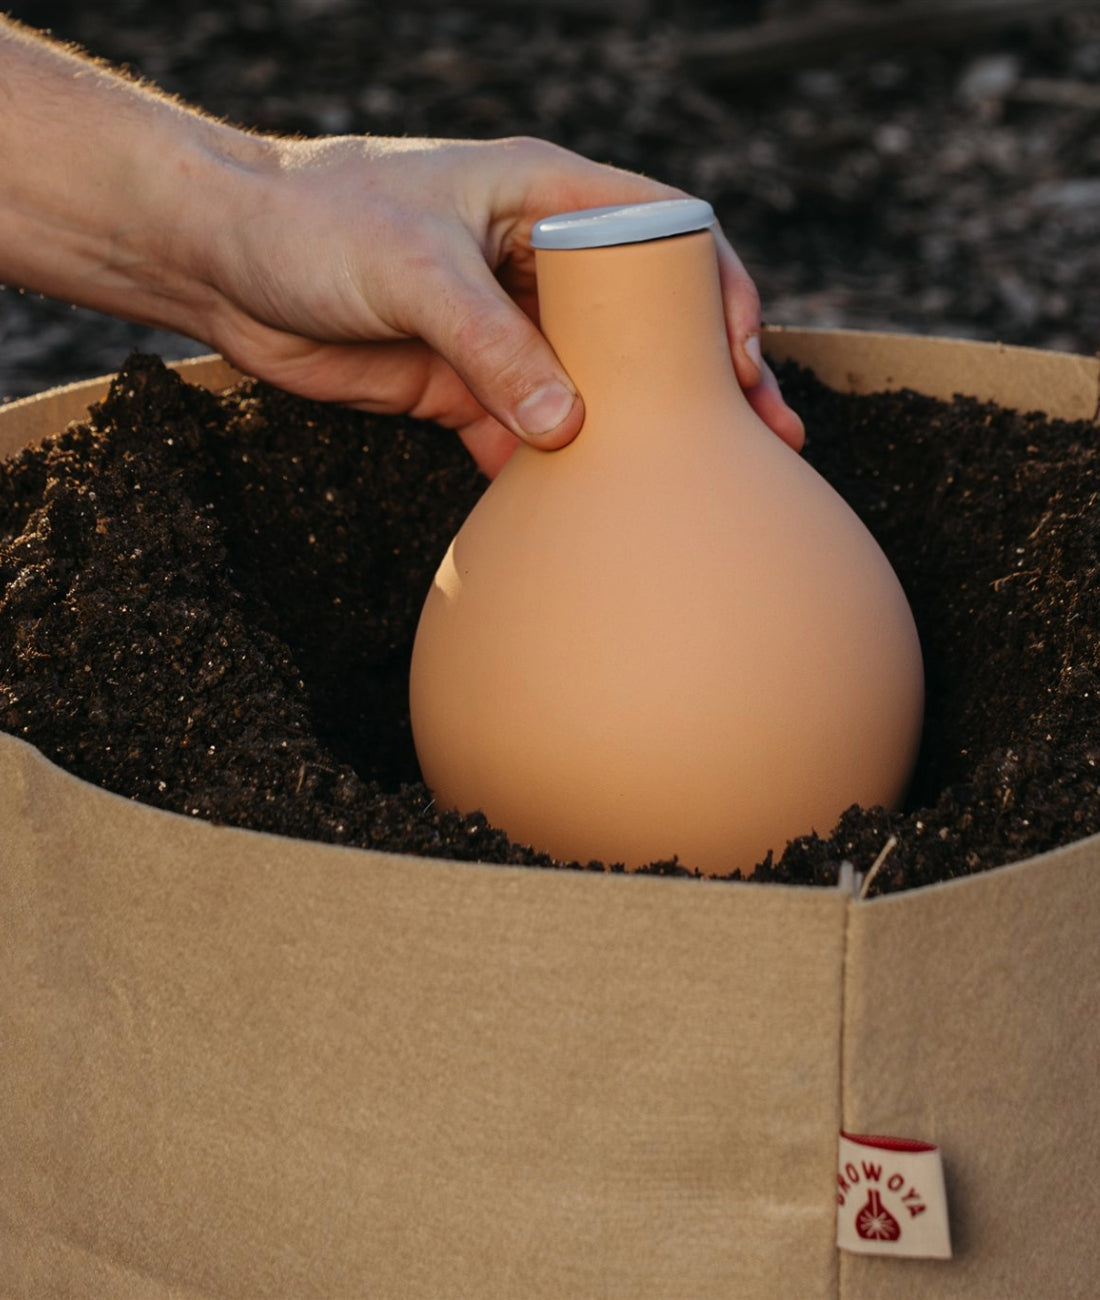
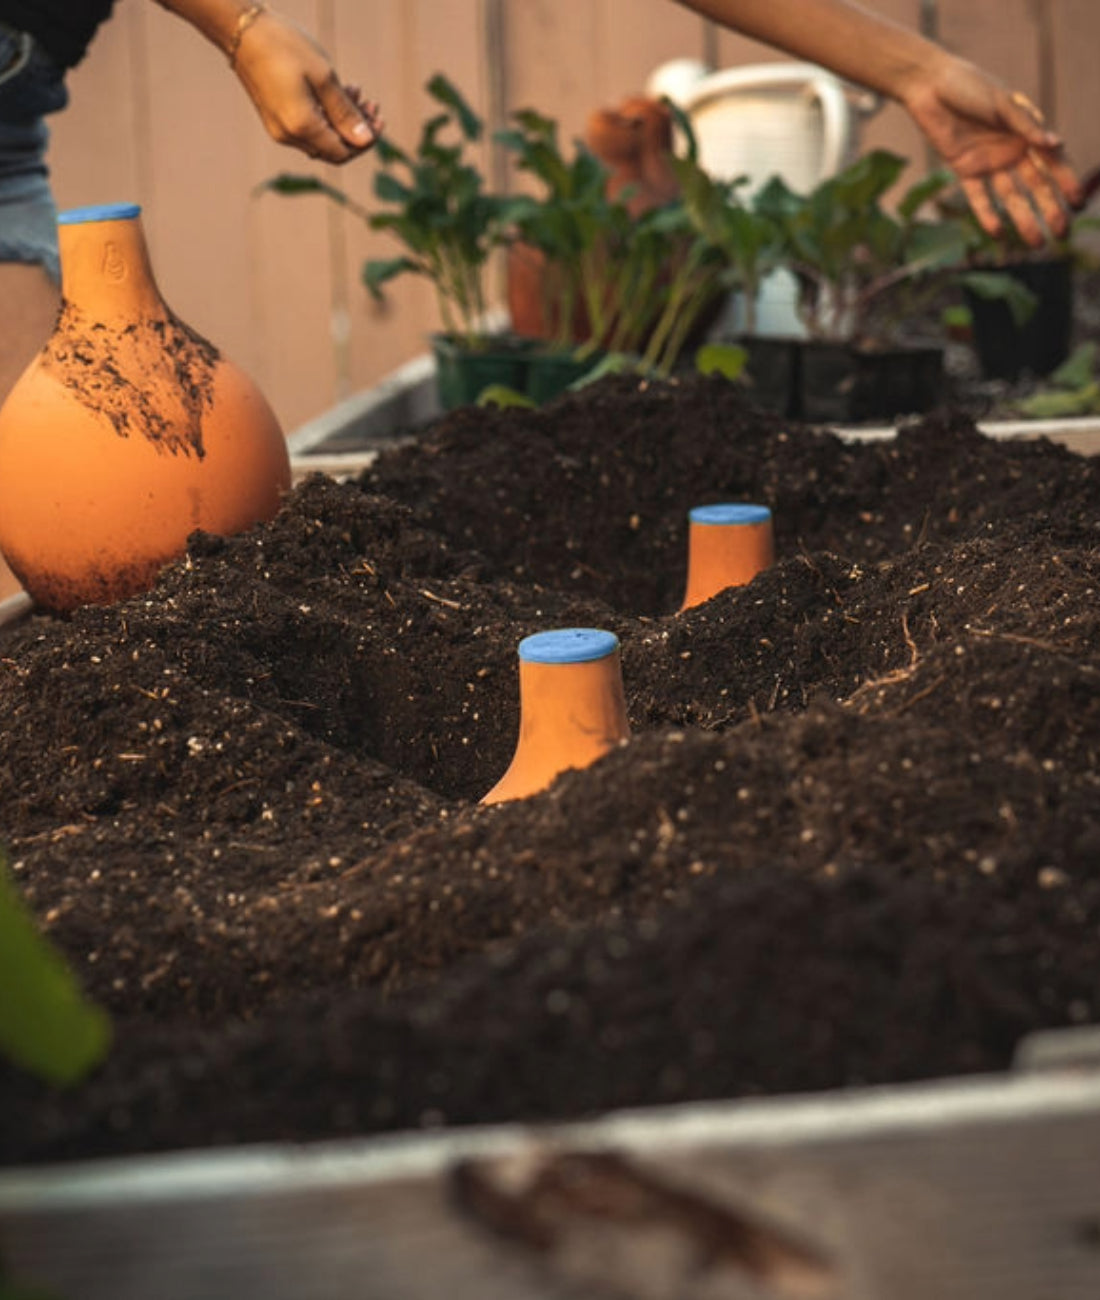
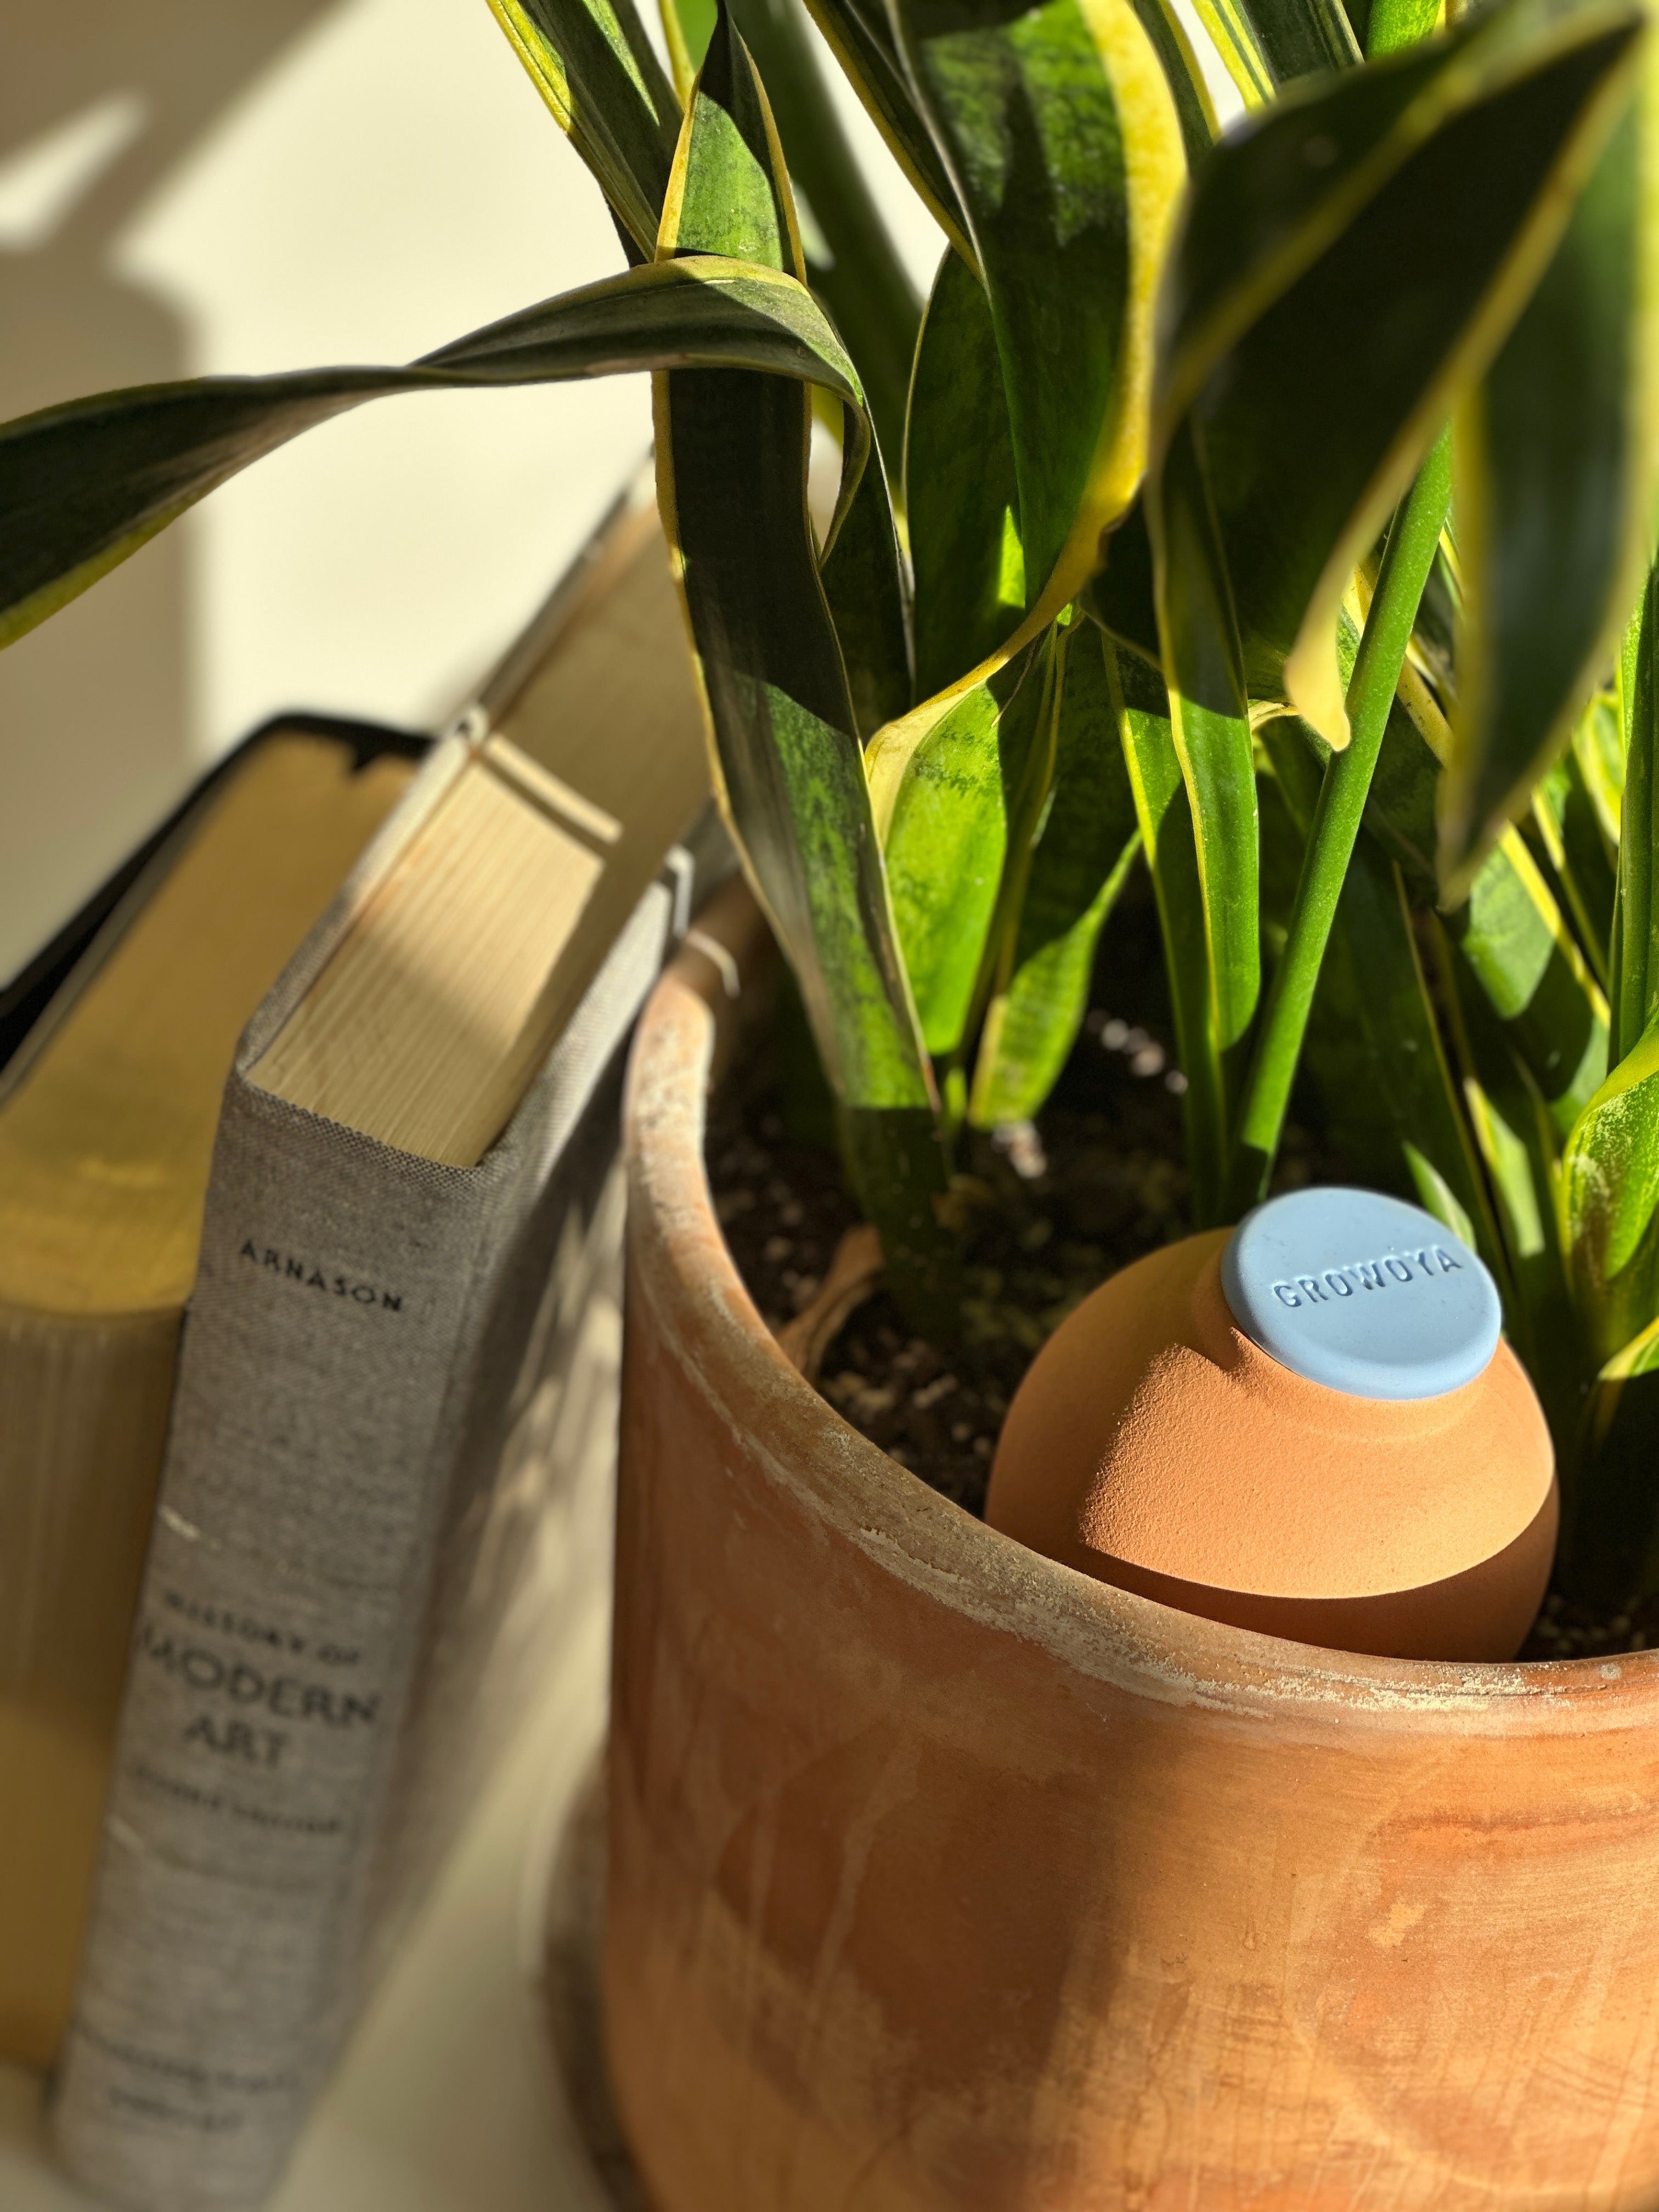
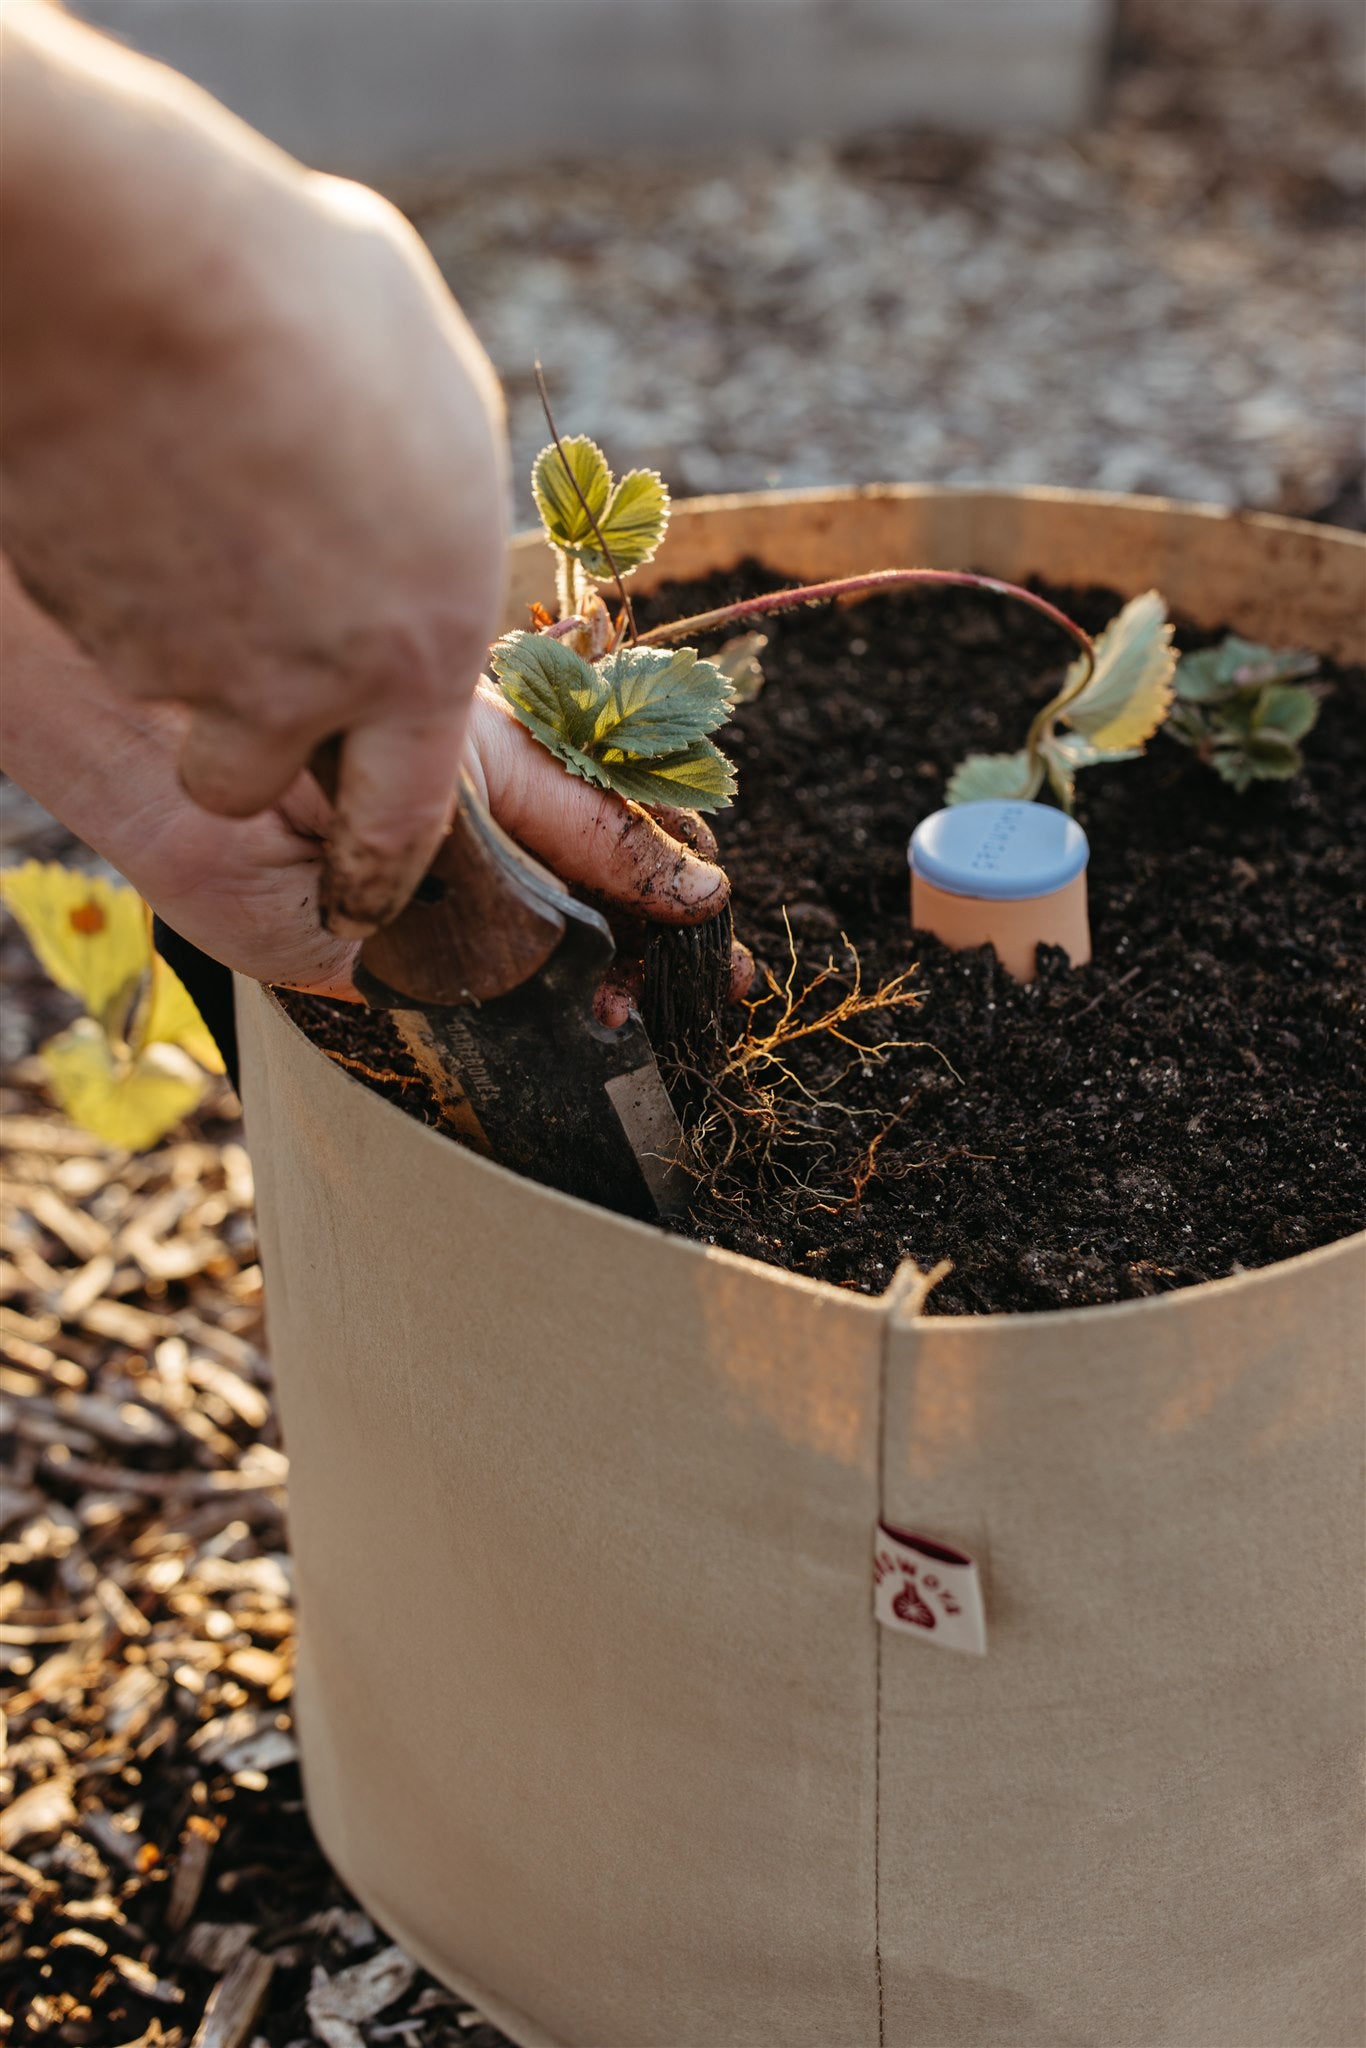
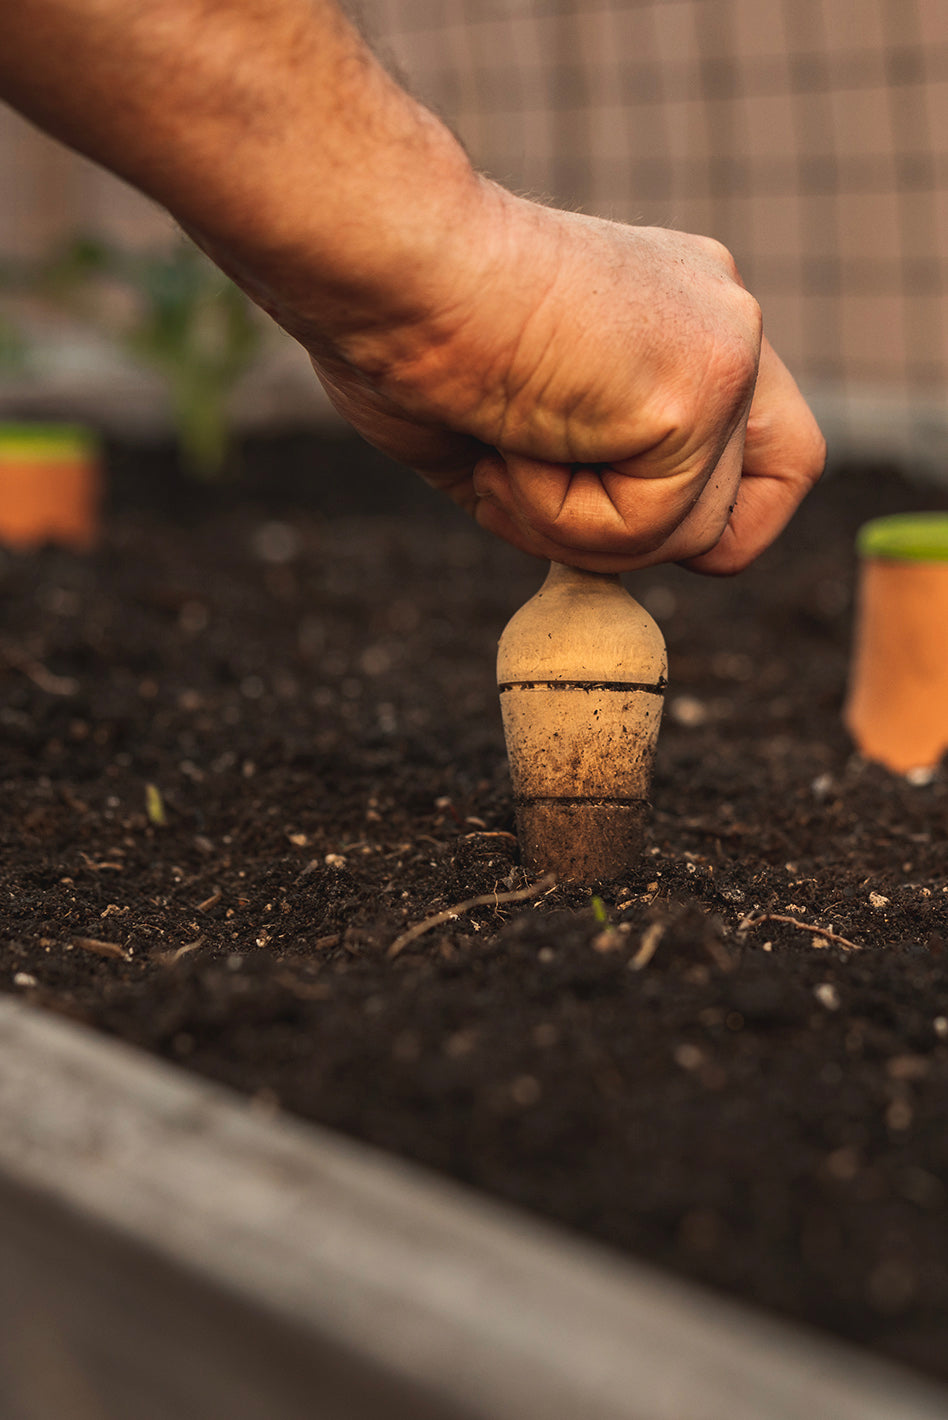
Prepare the soil by digging a hole deep enough to accommodate the Oya pot, ensuring the logo sits level with the soil surface. If using a grow bag or container, ensure it fits snugly without obstructing nearby plants' growth.
Step 3: Burying the Oya Pot
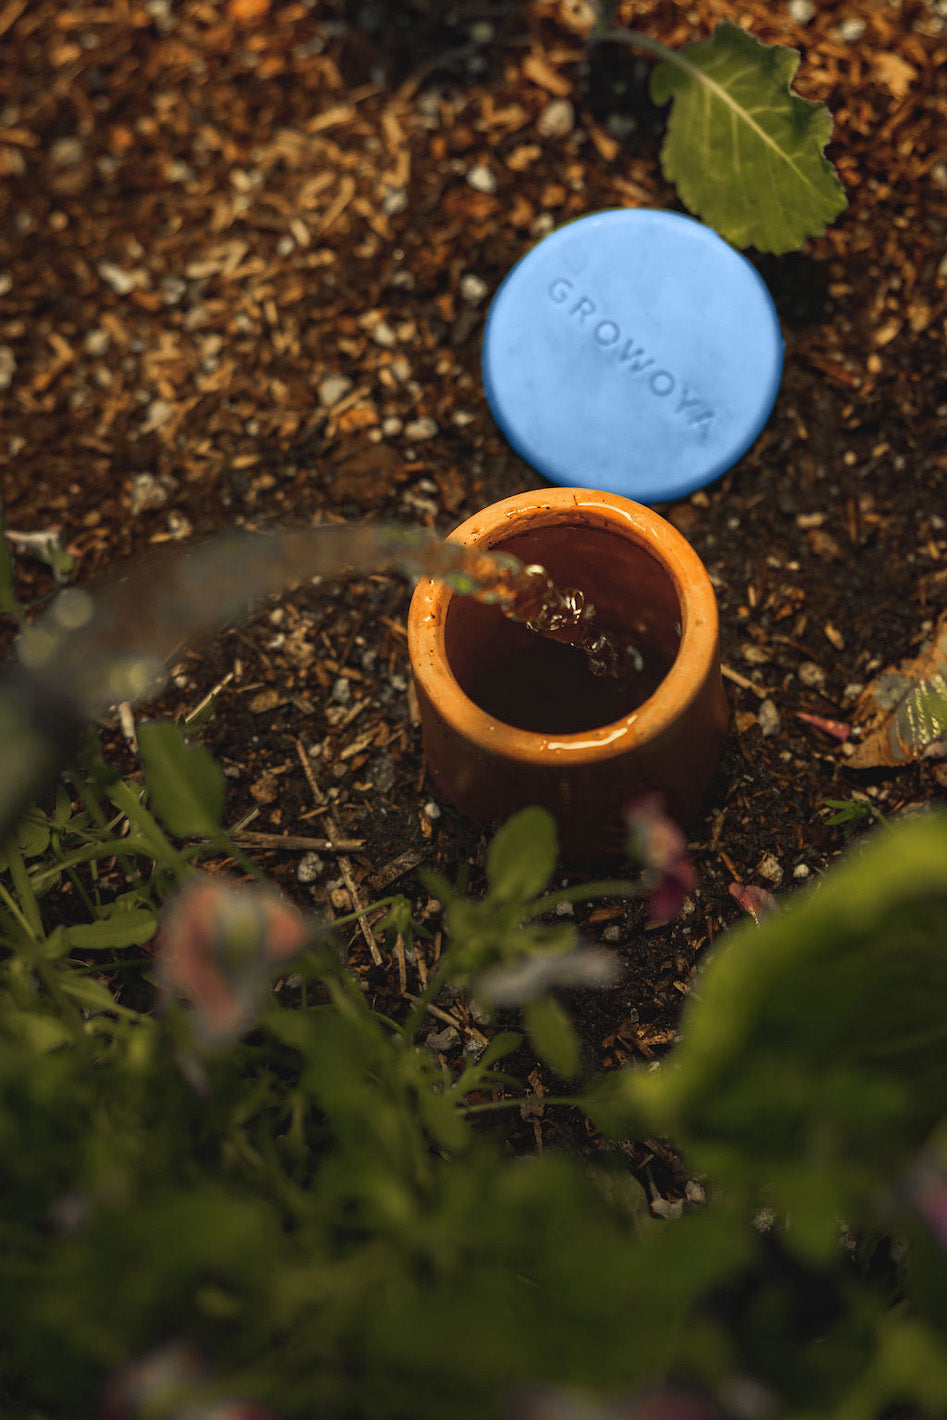
Carefully place the Oya™ Watering Pot in the hole and fill in the surrounding soil, pressing firmly to secure it. Position the logo just above the soil surface to prevent debris from entering when filling.

Step 4: Adding Water
Once buried, fill the Oya pot with water, allowing it to saturate the porous clay gradually. Place the lid on to deter pests. Initially, you may notice seepage as the clay absorbs water, but this will diminish over time as the Oya hydrates fully.

Step 5: Monitoring and Maintenance
With the Oya™ Watering Pot installed, monitor water levels and refill as necessary, typically every few days depending on soil type, climate, and plant species. Periodically check the pot's neck for obstructions that may affect water flow.
