
Alright, let's talk about mulch – the unsung hero of gardening. You might not give it much thought, but trust me, it's a game-changer for your plants. Whether you're a seasoned gardener or just getting started, understanding mulching can make a world of difference in your garden's success. So, let's dive in and explore why mulching matters, what materials to use, and how it can transform your gardening game.
Tip 1: Choose high-quality mulch, not hay, from a local farmer
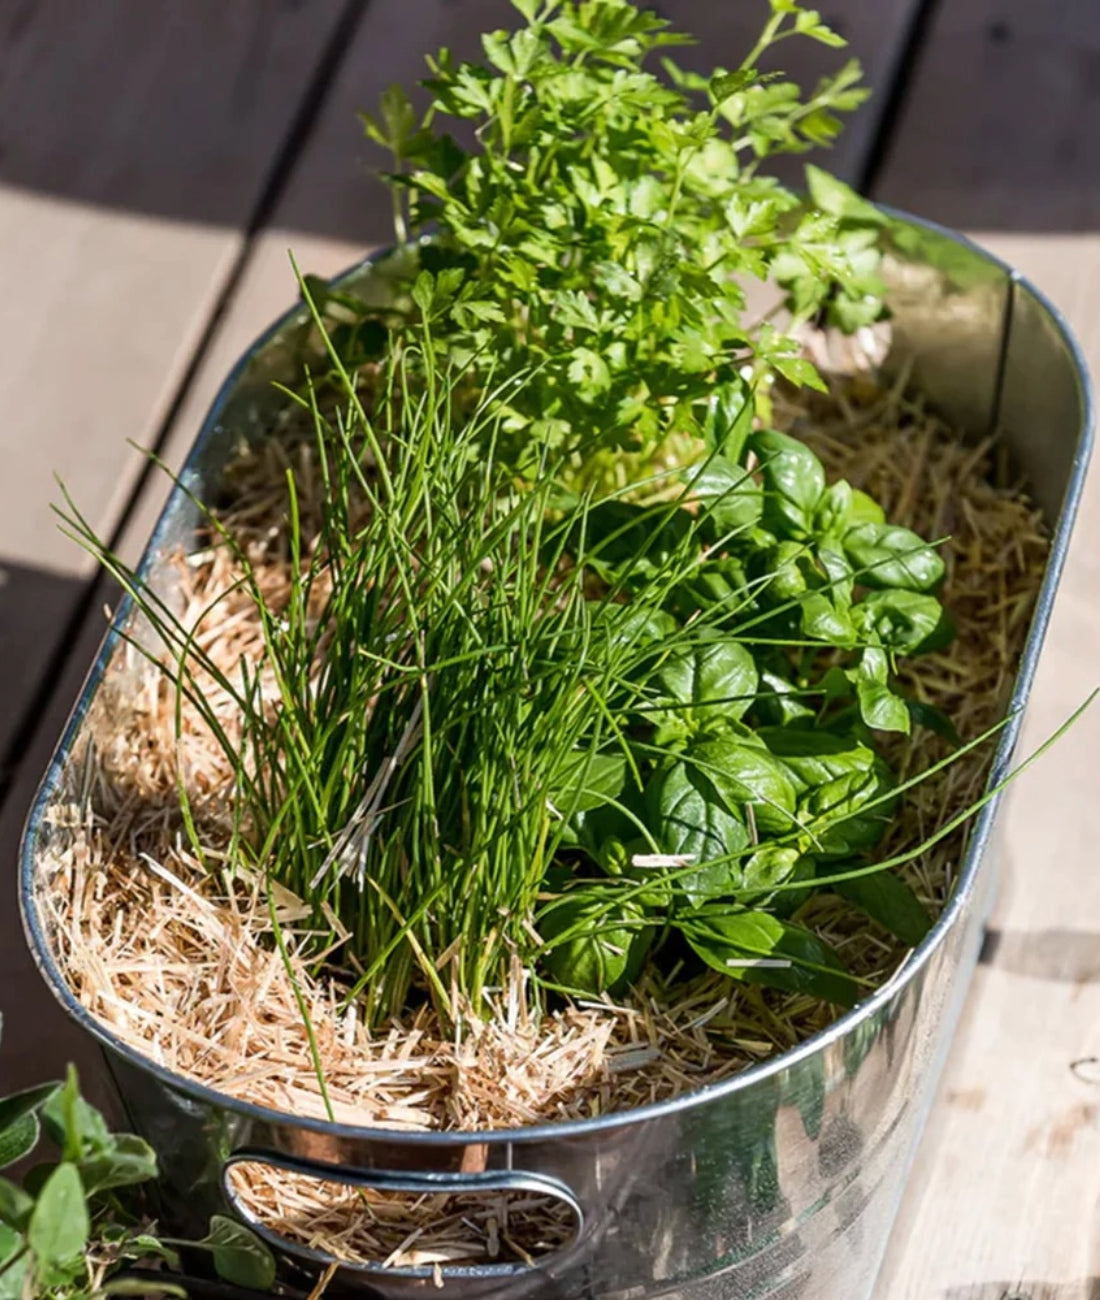
When it comes to straw mulch, quality matters. Opting for a one like our Premium Straw Mulch ensures that you're getting a clean, weed-free mulch that's been specially processed to promote healthy plant growth. Unlike hay, which may contain impurities and unwanted seeds.

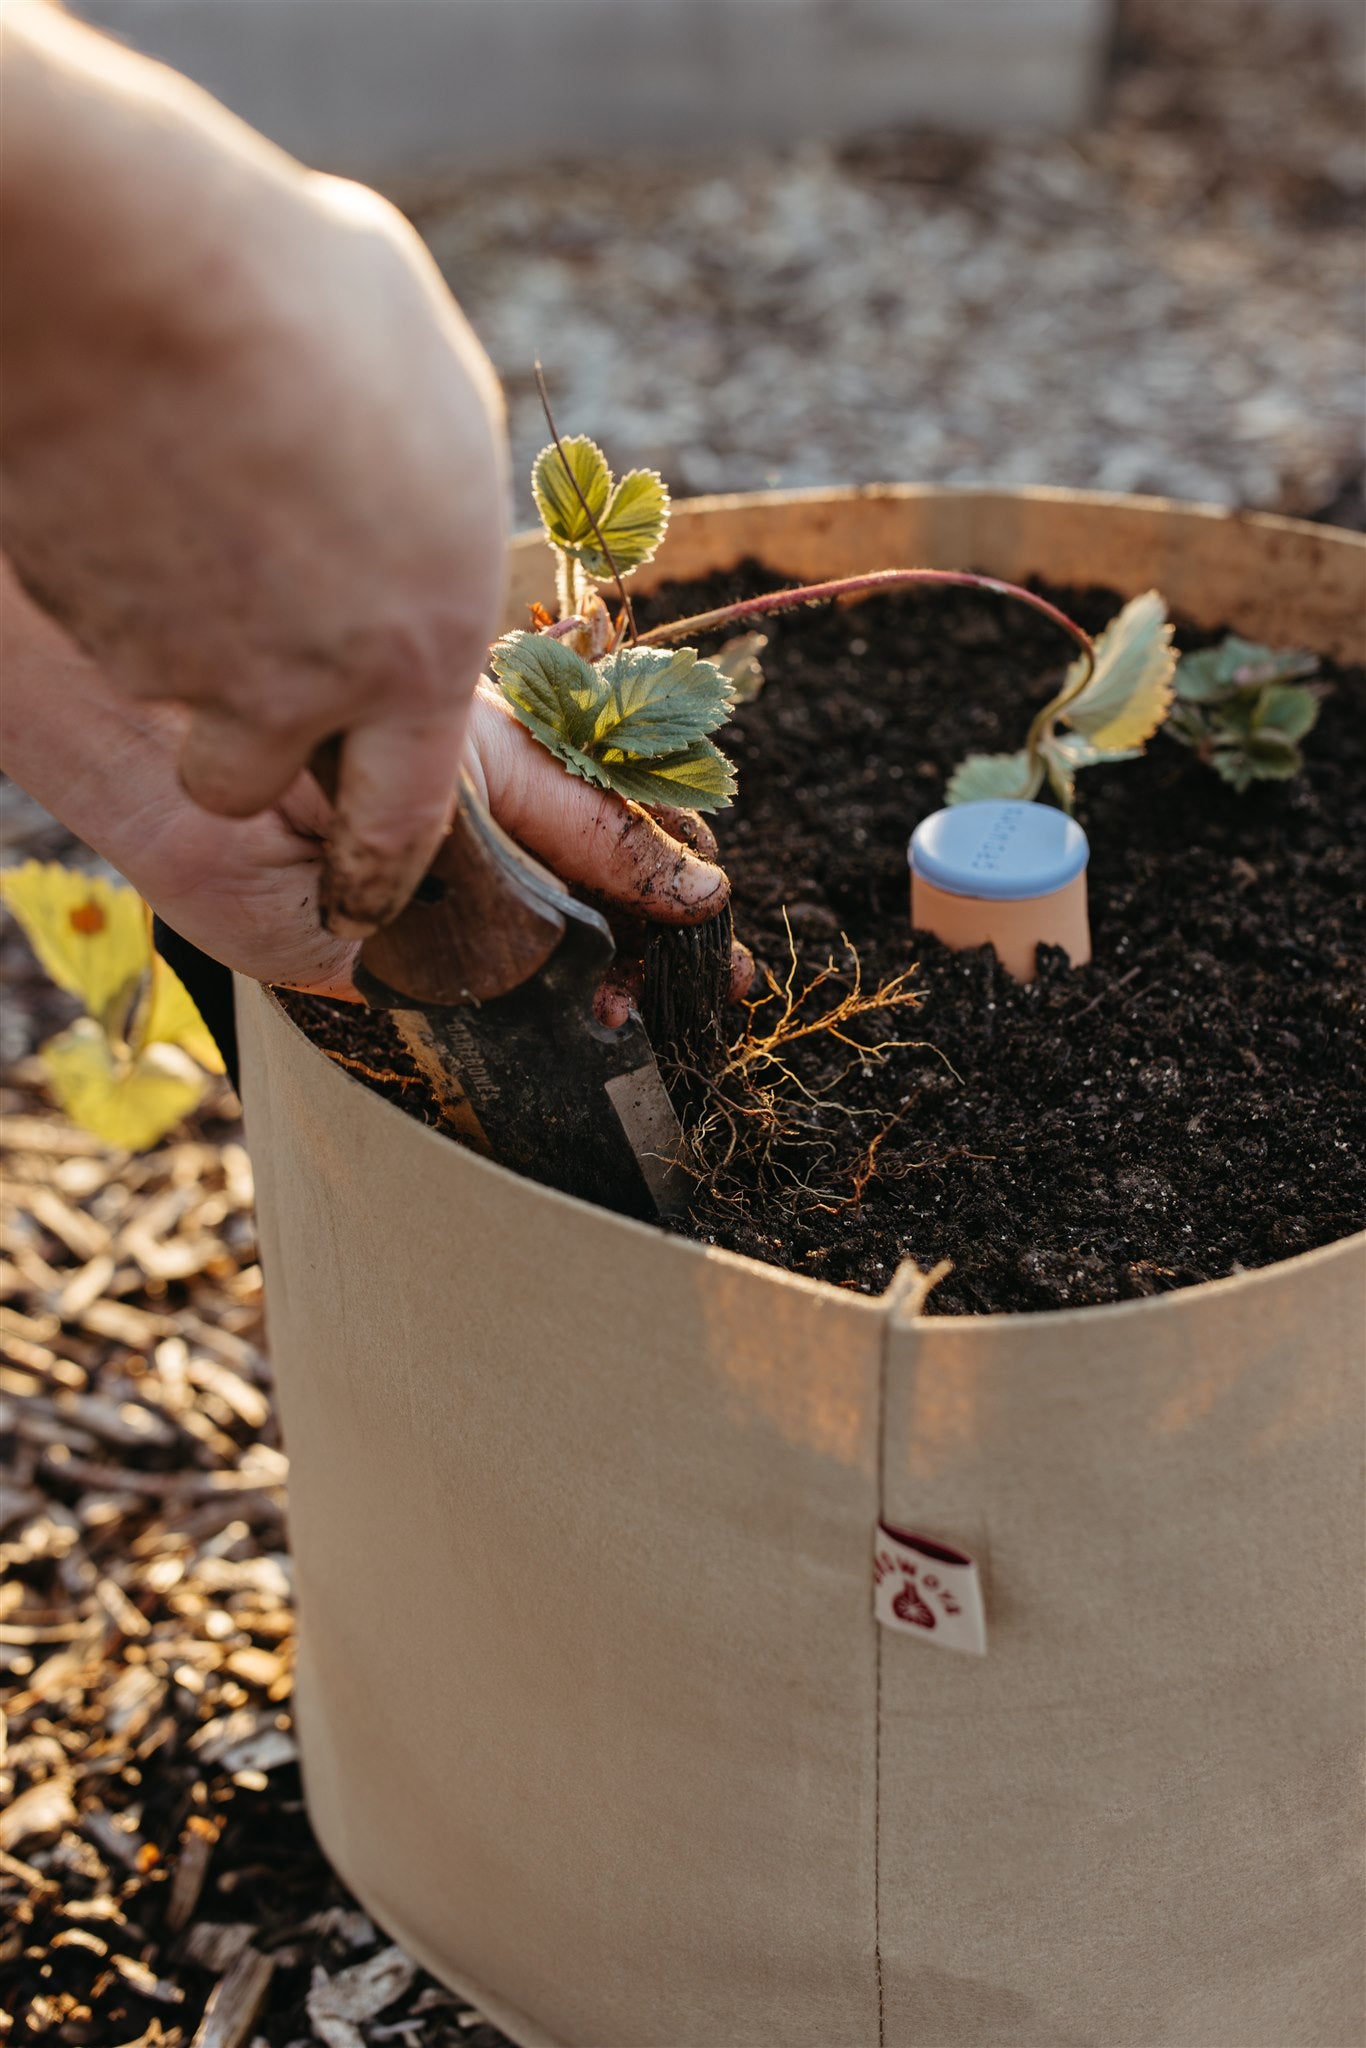
Tip 2: Mulch with straw once seedlings are established
Timing is everything when it comes to mulching with straw. Wait until your seedlings have emerged and reached a height of 2-3 inches before applying straw mulch. This allows for optimal sunlight exposure during germination and ensures your plants get off to a strong start.

Tip 3: A little straw mulch goes a long way
When it comes to applying straw mulch, remember: less is often more. Just a few handfuls around the base of your plants can work wonders in retaining moisture and keeping weeds at bay. Personally, I prefer using GardenStraw for this task due to its short shaft, which makes it a breeze to apply around your plants.

Tip 4: Be targeted with your placement of straw
Precision is key when applying straw mulch. Focus on placing it around the base of your plants, avoiding contact with the leaves and stems. This targeted approach ensures maximum effectiveness and minimizes the risk of suffocating your plants.
Tip 5: Water directly after applying your straw mulch
To ensure your straw mulch stays in place, be sure to water it immediately after application. This helps the straw bind together and prevents it from blowing away.
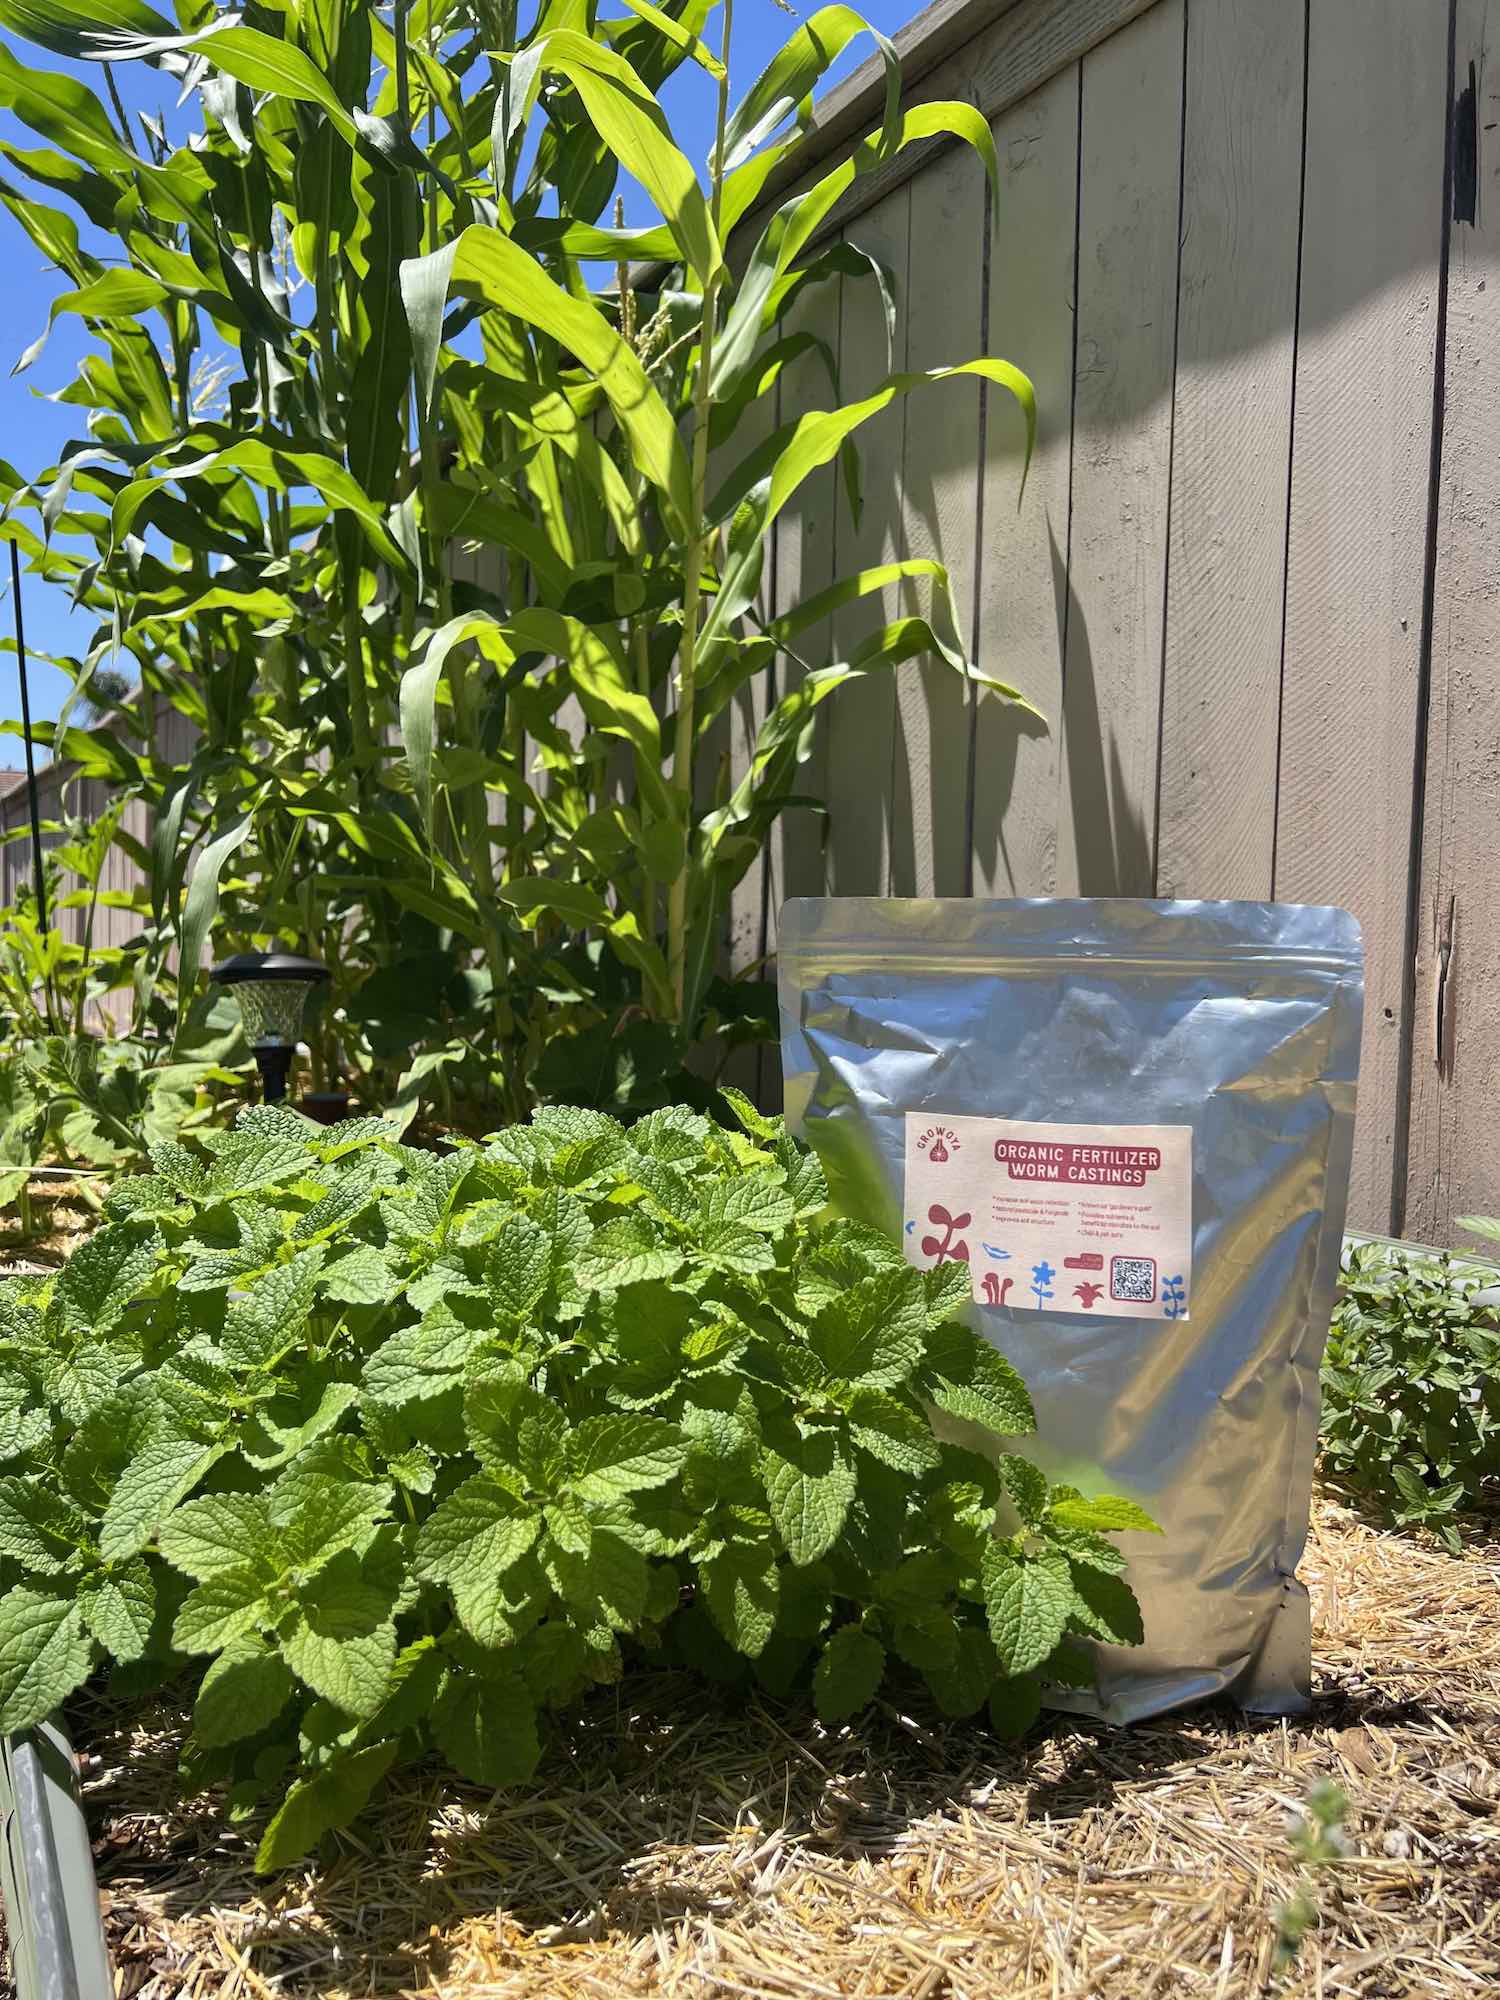
Tip 6: Prioritize plants that will benefit most from straw mulch
While all plants can benefit from straw mulch, some thrive on it more than others. From annuals in containers to fruiting plants like tomatoes and cucumbers, strategic mulching can make a world of difference in your garden's success.

Tip 7: Use extra straw mulch to suppress weeds in pathways
Using straw mulch isn't just about keeping weeds away. You can also use any leftover mulch to cover pathways or trouble spots in your garden. This way, you'll have a neat and tidy space to enjoy throughout the season.
Tip 8: Use a light dusting of straw to improve germination
Believe it or not, a light sprinkling of straw mulch can actually improve germination rates for certain crops. Not only does it provide nutrients and retain moisture, but it also protects delicate seeds during the germination process.
Tip 9: Replenish your straw mulch throughout the gardening season
As straw mulch breaks down over time, it's important to replenish it periodically throughout the gardening season. Whether you're topping up around existing plants or insulating your garden for the winter ahead, a little extra mulch goes a long way.

Tip 10: Don't discard your straw mulch at the end of the season
Finally, don't toss out your straw mulch at the end of the season! Instead, mix it into your soil to improve structure and fertility, or add it to your compost pile to create nutrient-rich compost for next year's garden.


